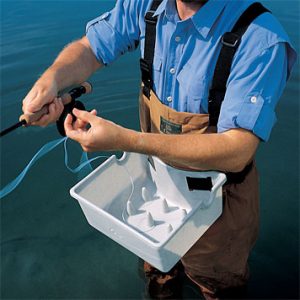
When you’re doing any type of fly fishing that involves stripping in great amounts of line after each cast, keeping that slack line under control can be a challenge. In streams and rivers, it’s usually not too big of a problem because the line will usually rest neatly in the water by your side. In a boat that is not equipped with some sort of stripping deck, it can be a little bit of a problem as your line wants to snag and tangle on absolutely everything in the boat. The biggest challenge is surf fishing because the constant rushing approach and retreat of the tide repeatedly wraps this slack line around your legs.
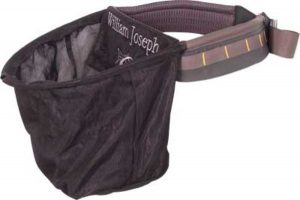
Stripping baskets are designed to solve this problem. I’ve seen larger, freestanding stripping baskets used in boats. But the most common stripping baskets are smaller and are worn around your waste. After you cast and you’re retrieving line, you simply strip and feed the line into the basket. They are basically just a bin with a series of upright “posts.” The posts help prevent the line from tangling inside the basket. There are also baskets made of mesh, but many note that these are often not durable.
Stripping baskets are pretty simple devices that have been around for decades, and they can be purchased from most fly fishing suppliers. If you don’t want to fork over $40-$90 for a plastic tub on a belt, you can also make your own. I did and it works great.
Start with a hard plastic bin like you find in the storage sections at Wal-mart, Home Depot, etc. It should be approximately 16”x 11” and about 5 or 6” deep. You’re also going to need a drill, a sander, some zip ties, wire cutters, and a bungee cord. The bungee cord will be used to secure the bin around your waist, so the length needed will be dependent on your size. You want it to be tight enough to keep the bin from falling off you but not so tight that it’s digging the bin into you.
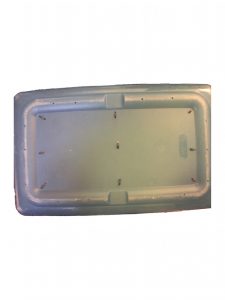
Begin by drilling approximately ten 3/32” holes in the bottom of the bin near the edges. These will serve as drain holes for your stripping basket to keep water from accumulating inside. Next drill nine 3/32” holes spread equally in the middle of the bin. And drill another nine 3/32” holes right next to the ones you just drilled. These will serve as attachment points for your zip ties (the zip ties will act as the “posts” inside the box that help keep your line from tangling). Finally, drill two larger, approximately 3/16” holes (big enough to accept the hooks on your bungee) on the front of the bin, one near each top corner. This is where your bungee cord will attach. With light sand paper, smooth the front and back of each hole you drilled.
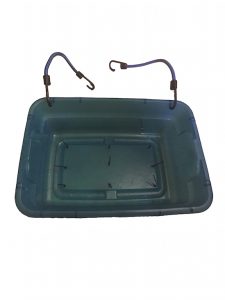
Next, attach nine 4” zip ties through the “double holes” you created in the bottom of the bin, allowing the end of the zip tie to point upward into the interior of the bin. With your wire cutters, snip the tips off each zip tie so that you’re left with a 2” post that stands at an approximate right angle from the base of the bin. Hook one end of the bungee into one of the larger front holes. Bring the bungee around your waist and hook the other end into the second hole. I actually use two shorter bungees because I think it’s easier to attach and detach. You’re ready to go fishing!
Where you position the basket is a matter of preference. I typically see them positioned on the front of the body, but I prefer to wear mine closer to my left hip so I can feed line into the basket with a more natural stripping motion. I always use it when surf fishing and very frequently when I’m fishing from the canoe.
