Flies: Tellico Nymph

My friend Walter Babb said that most people’s favorite fly is the fly they happened to have on the first day the fishing was really good.  The implication of his statement is that more often than not, it’s the archer, not the arrow.  Most of the time, if your fly is presented well and the fish are feeding, it probably doesn’t matter what fly you have on.  And if the fish aren’t feeding?  It probably doesn’t matter what fly you have on!

But since you happened to have that fly on the first day the fishing was good, you have confidence in it.  Now it’s the first fly you put on and you leave it on longer.  I have countless fly patterns that I abandoned because they didn’t catch fish the first time I tried them, but often that first time was after I tried everything else.  Nothing was working that day!

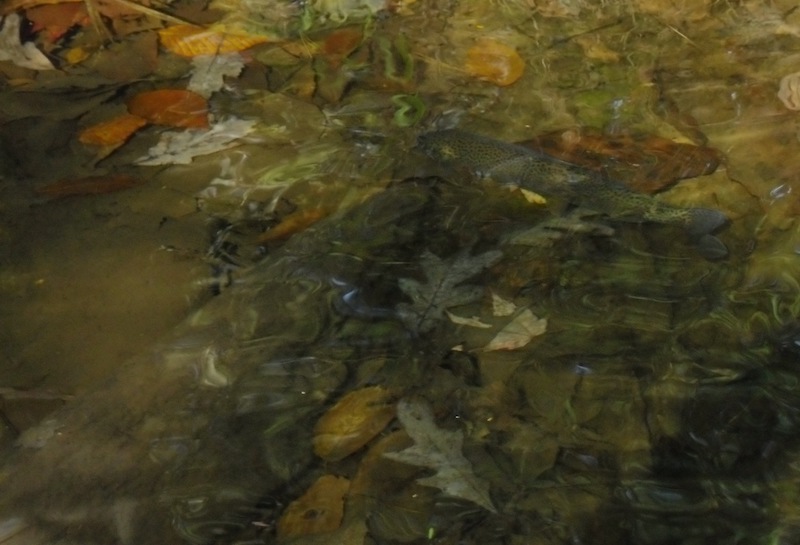
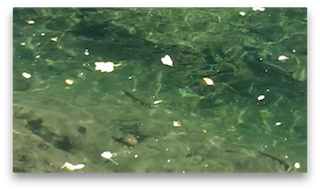
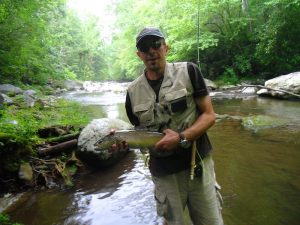
With all of that said, I have, by far, caught more big brown trout in the Smokies on a Tellico Nymph than any other fly.  But, you guessed it… the first big brown trout I caught in the Smokies was on a Tellico Nymph.  I have confidence in it.  And since most of the big browns I’ve taken over the years were either spotted first or caught during “favorable brown trout conditions,” I’d put a Tellico on in anticipation.  So, it’s a bit deceiving.  Who is to say I wouldn’t have caught those fish on a Prince Nymph had I chosen to tie one on?

Nevertheless, the Tellico Nymph is a good fly and it’s been around a long time.  Its exact origins are unclear, though it was thought to have, obviously, been initially created and fished on the Tellico River in East Tennessee.  It has definitely been around since the 1940’s, but some estimate that it may date back to the turn of the 20thcentury.  In any case, it has to be the most well known fly from this region and it has accounted for fish all over the world.

In addition to its origin, there seems to be some confusion as to what the fly was originally supposed to imitate.  Many contend that it represents a caddis larva.  Others are just as certain it is supposed to be a mayfly nymph.  To me, there is absolutely no doubt that it was intended to represent a golden stonefly nymph.  The coloration and size are consistent with that of a golden stone, and the Tellico River has long been known for its abundance of these nymphs.

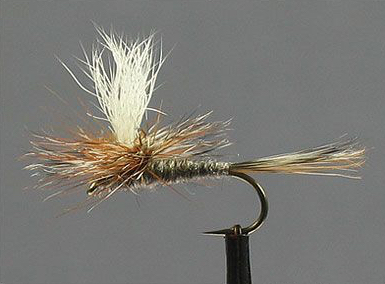
As with any popular fly that has been around for this long, there have been a number of variations on the pattern over the years.  My personal favorite was devised by East Tennessee fly tyer, Rick Blackburn. I tie most in size #10.

Blackburn’s Tellico

Hook: 3XL nymph hook #12 – 6
Thread: Dark brown 6/0
Weight: .015 to .035 lead wire (depending on hook size)
Tail: Mink fibers (I often use moose as a substitute)
Rib: Gold wire and 2-3 strands of peacock herl
Wing Case: Section of turkey tail – lacquered
Body: Wapsi Stonefly Gold Life Cycle dubbing
Hackle: Brown Chinese neck hackle, palmered through thorax

Spotting Fish

A 14″ rainbow feeding in flat, shallow water

In some fly fishing scenarios, spotting fish is absolutely critical for success.  Fishing the saltwater flats for bonefish, redfish, tarpon, etc. or the freshwater mud flats for carp will provide little more than casting practice if you can’t see the fish.  In other scenarios, such as fishing a mountain trout stream, you can tell where fish should be by reading the water, and you can catch a lot of fish just by fishing likely spots.  But even when fishing trout streams, the ability to spot fish in the water can sometimes allow you to locate and target larger fish.  In the fall, this is particularly relevant in the Smokies as large brown trout begin moving into flatter, shallower water preparing to spawn.

Spotting fish can be difficult to learn and there is no substitute for years of experience and practice, but there are a few things that can help you get started.  The best place to start is with a pair of polarized sunglasses and this article will help a little when choosing a pair.  The next thing to understand is how trout see, because as you seek out vantage points from which to spot fish, you want to avoid spooking the fish in the process.  Here is an article on trout behavior that goes into a little more detail. Now we’re ready to go spot some fish.

Start by looking for fish in slower water.  The more broken the surface is, the more difficult it will be to see through it. If possible, try to find a higher vantage point from which to look.  This will greatly reduce the amount of light refraction from the water’s surface.  Just remember that the higher up you get, the easier it will be for fish to pick up your movement.  Avoid standing erect on a large boulder, as your silhouette will be far more pronounced.  A high bank with a wooded backdrop is ideal, but you’ll still want to keep your movements slow and minimal.  If you are on a large rock above a pool, get on your belly and peek over the edge. Remember the old westerns where the Indians were looking off the rocky bluffs about to attack the wagon train? That’s the idea.

Now that you’re in position, take your time.  It’s extremely rare that you’re going to step up to a pool and immediately see a 27” brown trout.  You have to methodically scan the pool.  Start by reading the water and looking for fish where they should be.  Look for obvious feeding areas in and around current lanes and foam lines.  Look for areas with obvious cover under and around big rocks and/or fallen trees.  They blend in REALLY well, so look long and hard and train your eye to look through the water rather than at it.

It’s hard.  You’ll spot plenty of fish that turn out to be rocks or pieces of wood.  I once spent 15 minutes casting to a plastic grocery bag hung on an underwater limb. It had the exact shape and movement of a trout!  I was in the water and my buddy was above me, watching from a bridge.  We were both certain it was a fish!

There are four trout in this photo. Can you see them?

Movement and shape really are the best giveaways and that’s why it’s so important to take your time and give long looks to those likely spots.  You may not see anything at first, then you see a little movement and suddenly the fish is visible.  And once you spot one, you often begin to notice others around him.  Watching the actual stream bottom, especially on sunnier days, can be helpful too.  The movement that you often detect is the shadow of the fish.

Another thing to look for is a flash near the stream bottom.  The eyes of a trout are positioned in such a way that they look slightly upward.  When feeding on nymphs on the bottom, the trout has to angle his body to see below and will often “twist” his body when he eats the nymph.  When this occurs, his white belly reflects light and produces a flash.  This is always helpful when looking for fish, but especially in faster water.

All of this is easier the more familiar you are with the stream bottom.  If you have a favorite pool, maybe one where you spooked a big fish before, keep going back there and looking.  You will inevitably begin memorizing the stream bottom and will more quickly and easily be able to differentiate between rocks and fish. Again, it’s not easy and it takes time but like most things, the more you practice, the better you’ll get.

So, you’re starting to spot some fish… now what?  Don’t just jump in and start casting the second you see a nice one.  Keep watching.  What is the fish doing?  If you see a big fish just hugging the bottom, he’s not feeding and you’re wasting your time casting to him.  But good news… you found a big fish.  You might come back closer to dawn or dusk when he is more likely to be feeding.

This 22″ brown was spotted and observed for nearly 15 minutes before approach

If you spot a fish up in the water column, he’s likely feeding.  Keep watching him.  Is he looking up?  Does he consistently feed to his right?  Is he staying in one place or is he systematically rotating to different locations within the pool?  Pay attention to all of these things and then you can plan your attack.  Sometimes with big fish, you’re only going to get one shot and you want to make it count.

How much time you spend looking depends on you.  I know guys that do little more than target big brown trout, and they spend far more time watching water than they do fishing.  For me, it depends on where I’m fishing and the conditions.  If I’m fishing pocket water on a high country brook trout stream, I’m not going to spend much time, if any, looking for big fish. I’m going to cover a lot of water and hit the likely spots.  If I’m fishing a big pool on a brown trout river, I’m going to spend at least a few minutes looking before I jump in.  If I’m fishing that same big pool in late fall, I’m going to look a lot more thoroughly!

How Stuff Works – Floatants

One of the worst things you can do to a dry fly is catch a fish on it!  They slime it and submerge it and swim it around… Just in general, keeping a dry fly floating better and longer seems to be an ongoing quest for many fly tyers and fishers.

There are a number of factors that can go into how well and how long a dry fly continues to float high. Certainly the materials from which the fly is tied will play a big role, as will the skill of the angler.  The more you allow your fly to drag across currents, rather than drift on them, the more waterlogged your fly will become. Where you are fishing will make a difference, too.  It’s easier to keep a fly floating high in big, open rivers where false casting is an option than it is in a small, tight mountain stream.  In any case, there are an endless number of products on the market that are designed to help with this task and we lump them all into the category of “floatants.”

As with many products in the fly fishing world, if you ask ten different anglers which one is the best, it’s entirely possible that you will get ten different answers. Sometimes those answers will come in the form of a specific brand of floatant, and others will come in the form of a specific style.  When it comes to brand, I believe that is a matter of personal preference and you’ll just have to try a few different ones to see if one in particular earns your loyalty.  But when it comes to different styles of floatant, the specific task at hand may determine which will be best.  In fact, you may want to have more than one style of floatant to perform different tasks. Listed below are a few different common styles of floatant and a description of how and when they might best be applied.

Liquid Floatants
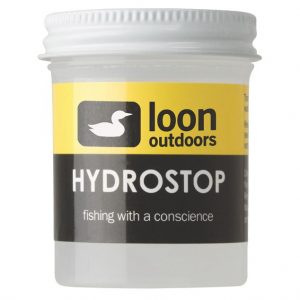
While many anglers use them in different ways, liquid floatants are probably most useful before you ever get to the stream.  Whether dry flies that you tie yourself or buy from a shop, you can use a liquid style floatant to “pre-treat” new flies in much the same way as you might “Scotchgard” your sofa.  Exact application may vary and you should read the recommendations for the specific brand you purchase, but typically, flies will be soaked in the liquid for five minutes or so and then set out to dry overnight.  In theory, after application of the product, water will better bead and roll of the fly material rather than absorb into it.

Gel Floatants
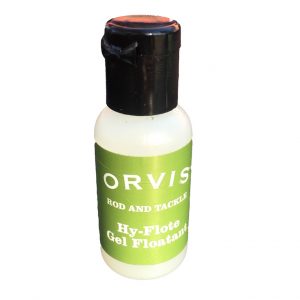
Gel floatants are probably the most common and popular style of floatant.  They come in a small, very portable bottle and, like the liquid floatants, are designed to be a pre-treatment to an already dry fly.  The big difference is gel floatants are designed to be used streamside, immediately before fishing the fly.

It is important that gels are not “over applied.”  A small amount should be rubbed into the fly and any excess should be removed.  Gels are also frequently mis-applied – after a fly has already become waterlogged.  If a fly is already saturated, applying a gel floatant will essentially trap moisture into the fly and make it worse.


Spray Floatants
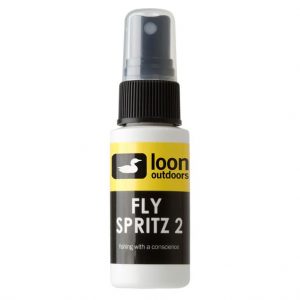
Also normally applied while the fly is still dry, spray floatants are basically just a variation on a gel floatant.  Spray floatants come in a bottle with a pump top and are applied much like you would spray something like an eyeglass cleaner.  They are not as messy as the gel but are sometimes more challenging to completey coat the fly.


Paste Floatants
These are basically just a thicker version of a gel floatant.  They can really create a mess on smaller dry flies and are probably best suited for larger dries like hoppers and stoneflies.  A lot of people prefer a paste floatant to apply to yarn strike indicators or even on a leader to keep it floating better.


Powder Floatants
These are used less as a pre-treatment and more as a means to revive a saturated fly.  As mentioned above, when a dry fly becomes oversaturated and begins to sink, applying a gel or spray can often make it worse by trapping moisture in.  Powder floatants are used to absorb and remove that moisture from a fly.

Typically they will come in a bottle with a wide, flip-top lid.  The fly, still attached to the tippet, is inserted into the bottle and the lid is closed.  The bottle is then shaken a few times and the moisture is removed from the fly.

At this point, there is a lot of debate on whether to re-apply a gel or spray type floatant and you’ll just have to find what works best for you.  I usually don’t re-apply another floatant unless I’m using a synthetic (like foam) dry fly.

Brush Floatants
Brush floatants are essentially another version of a powder floatant.  Rather than shaking the fly inside the bottle, a small brush is used to apply the powder to the fly.  Again, it’s personal preference but with brush floatants, be prepared for a little frustration on windy days!


There are countless styles and floatants on the market today and all have their place.  And unlike the homemade lighter fluid and paraffin concoctions of days gone by, they are typically odorless and environmentally friendly.  You just need to find a system that suits your needs.

Personally, I carry a gel floatant for pre-treating dry flies and a “shake style” powder for reviving them and get by just fine.  But I offer the disclaimer that I often offer in these newsletter articles… This is just one man’s opinion!