One of the worst things you can do to a dry fly is catch a fish on it! They slime it and submerge it and swim it around… Just in general, keeping a dry fly floating better and longer seems to be an ongoing quest for many fly tyers and fishers.
There are a number of factors that can go into how well and how long a dry fly continues to float high. Certainly the materials from which the fly is tied will play a big role, as will the skill of the angler. The more you allow your fly to drag across currents, rather than drift on them, the more waterlogged your fly will become. Where you are fishing will make a difference, too. It’s easier to keep a fly floating high in big, open rivers where false casting is an option than it is in a small, tight mountain stream. In any case, there are an endless number of products on the market that are designed to help with this task and we lump them all into the category of “floatants.”
As with many products in the fly fishing world, if you ask ten different anglers which one is the best, it’s entirely possible that you will get ten different answers. Sometimes those answers will come in the form of a specific brand of floatant, and others will come in the form of a specific style. When it comes to brand, I believe that is a matter of personal preference and you’ll just have to try a few different ones to see if one in particular earns your loyalty. But when it comes to different styles of floatant, the specific task at hand may determine which will be best. In fact, you may want to have more than one style of floatant to perform different tasks. Listed below are a few different common styles of floatant and a description of how and when they might best be applied.
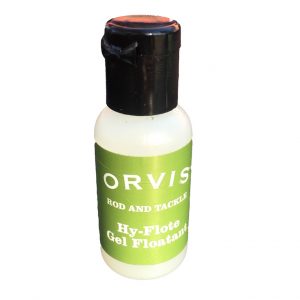
Liquid Floatants
 While many anglers use them in different ways, liquid floatants are probably most useful before you ever get to the stream. Whether dry flies that you tie yourself or buy from a shop, you can use a liquid style floatant to “pre-treat” new flies in much the same way as you might “Scotchgard” your sofa. Exact application may vary and you should read the recommendations for the specific brand you purchase, but typically, flies will be soaked in the liquid for five minutes or so and then set out to dry overnight. In theory, after application of the product, water will better bead and roll of the fly material rather than absorb into it.
Gel Floatants
 Gel floatants are probably the most common and popular style of floatant. They come in a small, very portable bottle and, like the liquid floatants, are designed to be a pre-treatment to an already dry fly. The big difference is gel floatants are designed to be used streamside, immediately before fishing the fly.
It is important that gels are not “over applied.” A small amount should be rubbed into the fly and any excess should be removed. Gels are also frequently mis-applied – after a fly has already become waterlogged. If a fly is already saturated, applying a gel floatant will essentially trap moisture into the fly and make it worse.
Spray Floatants
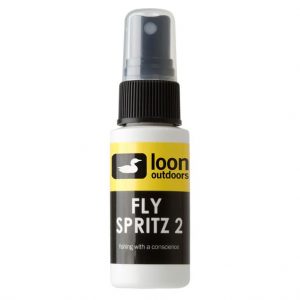 Also normally applied while the fly is still dry, spray floatants are basically just a variation on a gel floatant. Spray floatants come in a bottle with a pump top and are applied much like you would spray something like an eyeglass cleaner. They are not as messy as the gel but are sometimes more challenging to completey coat the fly.
Paste Floatants
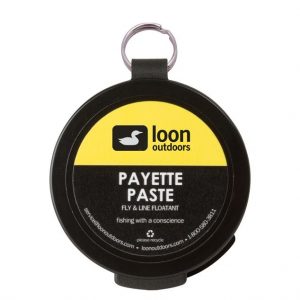 These are basically just a thicker version of a gel floatant. They can really create a mess on smaller dry flies and are probably best suited for larger dries like hoppers and stoneflies. A lot of people prefer a paste floatant to apply to yarn strike indicators or even on a leader to keep it floating better.
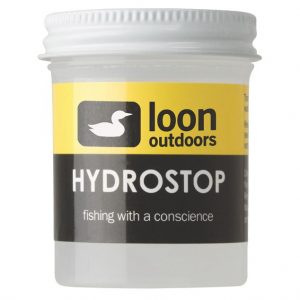
Powder Floatants
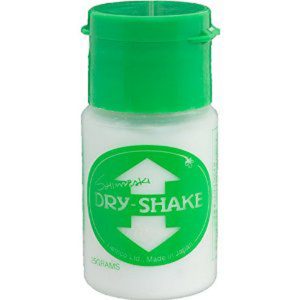 These are used less as a pre-treatment and more as a means to revive a saturated fly. As mentioned above, when a dry fly becomes oversaturated and begins to sink, applying a gel or spray can often make it worse by trapping moisture in. Powder floatants are used to absorb and remove that moisture from a fly.
Typically they will come in a bottle with a wide, flip-top lid. The fly, still attached to the tippet, is inserted into the bottle and the lid is closed. The bottle is then shaken a few times and the moisture is removed from the fly.
At this point, there is a lot of debate on whether to re-apply a gel or spray type floatant and you’ll just have to find what works best for you. I usually don’t re-apply another floatant unless I’m using a synthetic (like foam) dry fly.
Brush Floatants
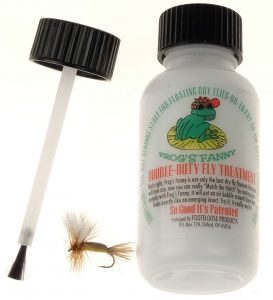 Brush floatants are essentially another version of a powder floatant. Rather than shaking the fly inside the bottle, a small brush is used to apply the powder to the fly. Again, it’s personal preference but with brush floatants, be prepared for a little frustration on windy days!
There are countless styles and floatants on the market today and all have their place. And unlike the homemade lighter fluid and paraffin concoctions of days gone by, they are typically odorless and environmentally friendly. You just need to find a system that suits your needs.
Personally, I carry a gel floatant for pre-treating dry flies and a “shake style” powder for reviving them and get by just fine. But I offer the disclaimer that I often offer in these newsletter articles… This is just one man’s opinion!
 Caddis have always seemed to be one of the most overlooked and under-imitated aquatic insects in the fly fishing world. Maybe it’s because they haven’t been written about nearly as much as their sexier mayfly cousins over the years. I mean, mayflies are given names like Pale Morning Dun, Quill Gordon, and Gray Fox… just to name a few. Caddis are given names like Green Caddis, Brown Caddis, Black Caddis…
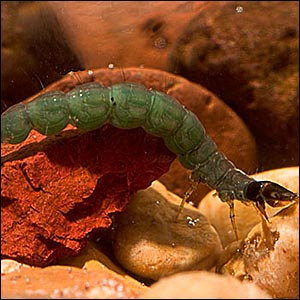
 My friend Walter Babb said that most people’s favorite fly is the fly they happened to have on the first day the fishing was really good. The implication of his statement is that more often than not, it’s the archer, not the arrow. Most of the time, if your fly is presented well and the fish are feeding, it probably doesn’t matter what fly you have on. And if the fish aren’t feeding? It probably doesn’t matter what fly you have on!
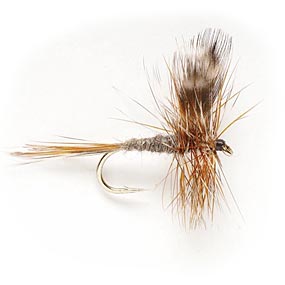
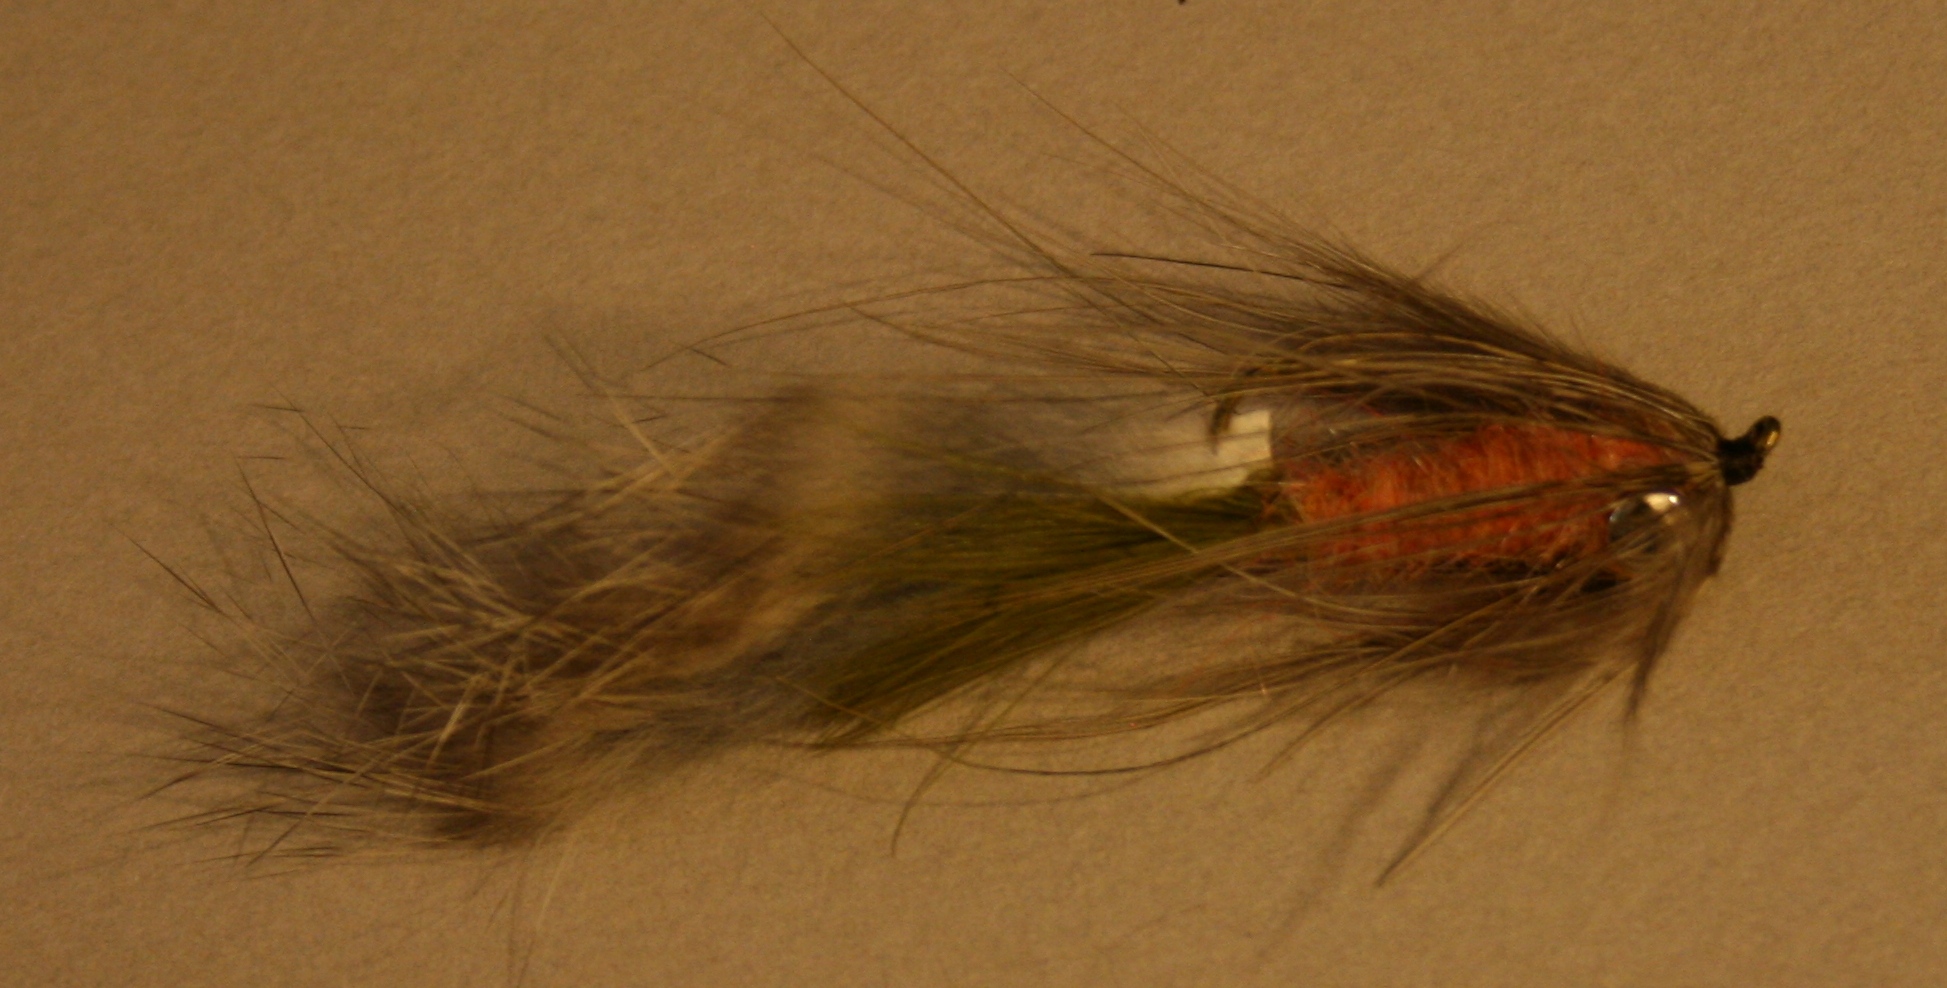 The Fleeing Crayfish was originated by fly fishing legend, Gary Borger in the 1980’s. He noted that while many crayfish pattern with ultra realistic, outstretched claws and the like looked great, most fish would eat them as they were retreating or fleeing. The design of his pattern imitates the crayfish in this moment. It has unbelievable movement and motion in the water and is a killer pattern for smallmouth and large browns.
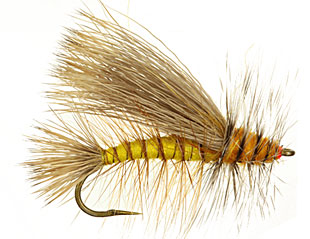
 The Stimulator was long thought to be the invention of well-known West Coast angler and fly shop owner, Randall Kaufmann. While Kaufmann is responsible for the modifications that made the fly most of us know today, the fly’s true originator is thought to be Paul Slattery, who tied a stonefly pattern called the Fluttering Stonefly to fish on the Musconetcong River in central New Jersey. This was in the early 1980’s and he soon renamed the fly after a New York City punk-rock band called The Stimulators.
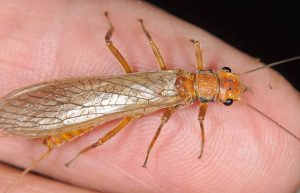
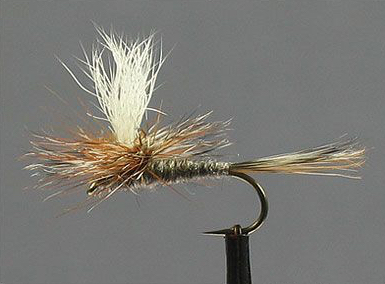
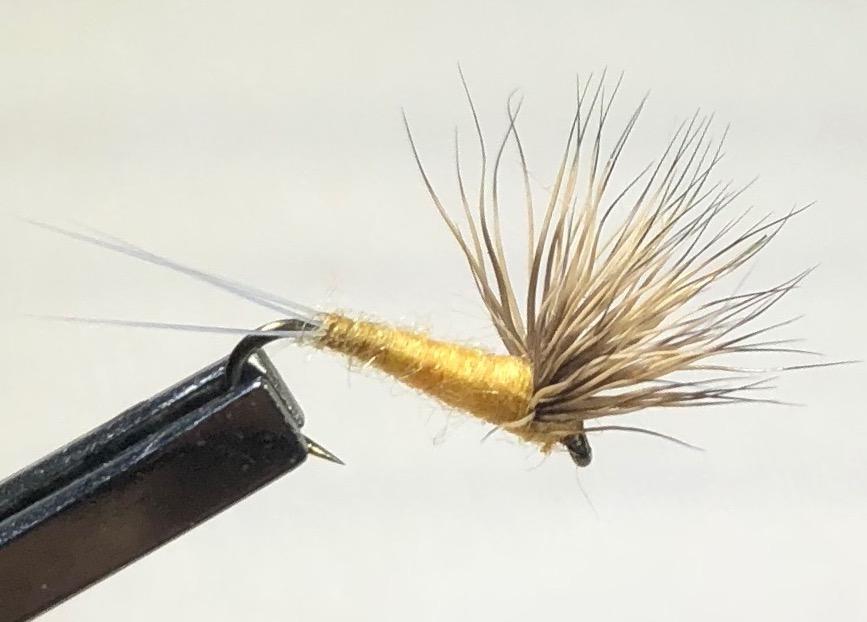 In the Smokies, we are mainly fishing faster, choppier water and often choose bushier, more heavily hackled dry fly patterns that float well. In that kind of water, trout don’t get much time to study the fly and their view tends to be distorted by those choppy currents, so the bushier flies tend to do the trick. Even when fishing pools in the Smokies, you usually have a defined feeding channel that will have at least a little chop to it. In those situations, a parachute style fly pattern is usally adequate to provide a slightly more realistic profile.
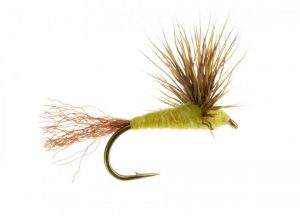 In the mid 1980’s, Craig Matthews and John Juracek took the Comparadun a step further and replaced the split microfibbet tails with a piece of antron or zelon. It essentially turned the fly into an emerger, with the antron or zelon “tail” suggesting the trailing shuck of an emerging mayfly. Of course, in any of the patterns described above, the body, wing, and tail/shuck colors can be altered to imitate different insects.
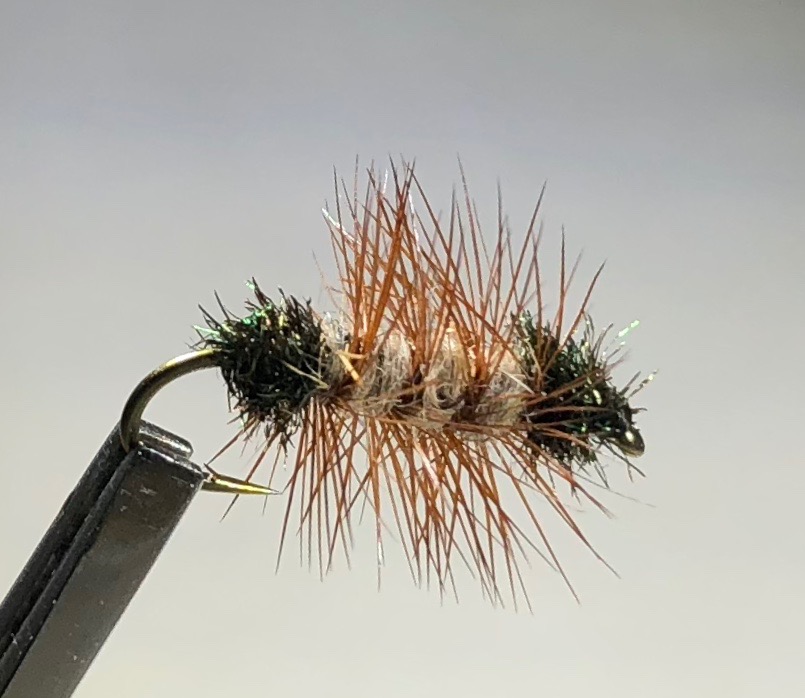 Few fly fishermen, if any, possess the knowledge and experience of Joe Humphreys. Joe is probably best known as a teacher and an author, but over his many decades in the business, he has also created a number of original fly patterns. By far, my favorite is the Humphreys’ Caddis Pupa.
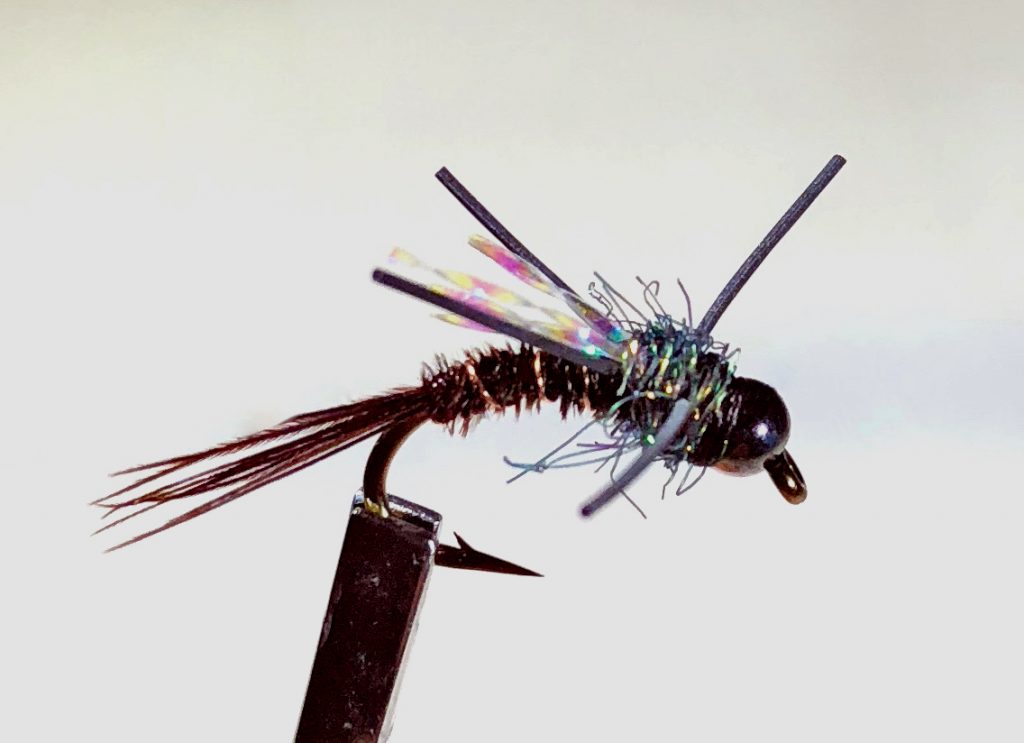
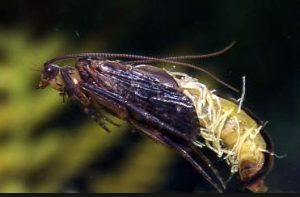
 Fly Tying is a lot like cooking in many ways. Of course, in both pursuits, you’re combining a variety of ingredients to create one final product. And the quality of those ingredients along with the skills of the person putting them together can tremendously impact the end result. But the issue of originality is also quite comparable.