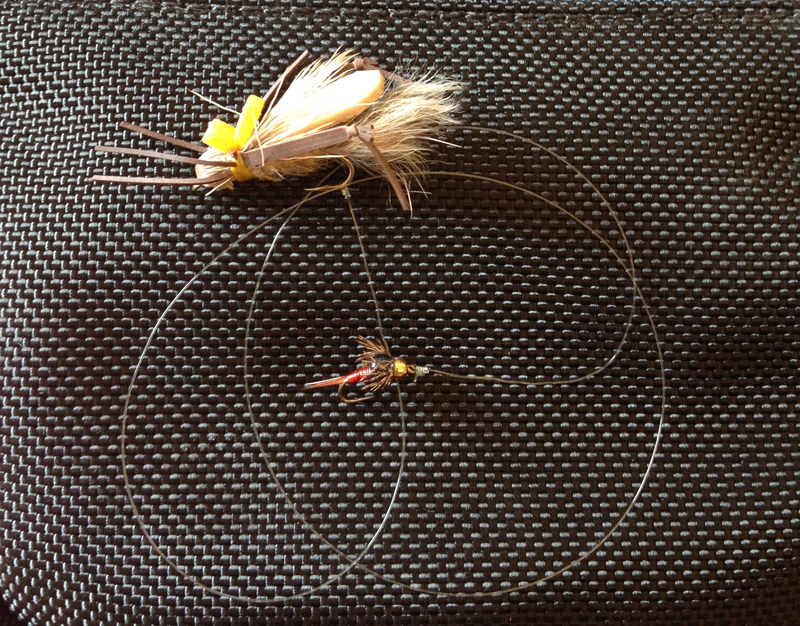
 I almost always fish with two flies when I’m trout fishing. There are just so many advantages to it. Beside the obvious advantage of potentially offering two fly choices to the trout, it provides you the opportunity to simultaneously present a fly in two different feeding columns. Below, I’m going to talk about some of those strategies as well as a few different ways to rig a dropper system. As a bonus, you get to enjoy some of my horrific artwork!
Dry Fly / Dropper
This is the two-fly method with which many fly fishermen are most familiar. It seems that even less experienced fishermen will tell you this is how their guide rigged them up when they were fishing out west during hopper season. When you rig like this, you are typically tying on a larger, or at least more visible, dry fly and attaching a smaller nymph off the back of that dry fly. You’re covering the top of the water with the dry fly and you’re covering usually the middle water column (sometimes the bottom) with the nymph. The dry fly serves as sort of an edible strike indicator for the nymph.
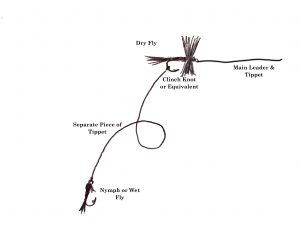 I typically rig this by tying my dry fly directly to the main leader and tippet. I’ll then take probably 18”-24” of tippet material and tie one end to the nymph, and the other to the bend of the hook on the dry fly. There are certainly a lot of variables, such as water depth or where you think the fish might be feeding, that determine how far apart you put the two flies, but the amount mentioned above is a pretty good “default setting.” I like to use a clinch knot to connect to the bend of the hook, but whatever knot you usually use to tie a fly on should work fine.
You want to make sure that the flies you select for this set-up compliment each other and are appropriate for the type of water you’re fishing. For example, a small parachute dry fly may not support the weight of a large, heavily weighted nymph. Parachute type patterns will easily support the weight of smaller, lighter nymphs, particularly in slower water. So, a #14 Parachute Adams with a #18 Zebra Midge dropper would be great for a tailwater or maybe a slower run or pool in the mountains. A #14 Parachute Adams with a #8 weighted Tellico nymph, fished in faster water is going to be trouble. Heavily hackled, bushy dry flies or foam dry flies are better choices when fishing in faster water or with heavier nymphs.
 With that in mind, know that this method may not be suitable for every situation. For instance, if you need to get a nymph deep, particularly in a faster run, you’re going to need a lot of weight and using a dry fly–dropper rig is not going to be effective. You’re better off using traditional nymphing techniques for that. But for fishing hatch scenarios where fish are actively feeding on and just below the surface, or for fishing to opportunistic feeders in shallower pocket water, it’s pretty tough to beat.
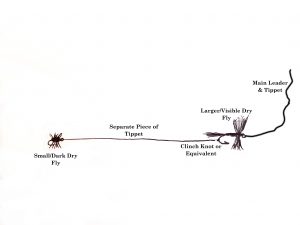
I also like to fish this same rig with two dry fly flies. On many occasions, I’ve found myself in a situation where I have trouble seeing my dry fly – usually when trying to imitate something small or dark like a midge, Trico, or BWO. In those situations, I’ll often tie on a larger, more visible dry fly with the smaller, darker dry fly tied about 18” off the back. Sometimes, having the more visible fly as reference allows me to actually see the smaller fly. But if I still can’t see the smaller one, I know to set the hook if I see a rise anywhere within 18” of the visible fly.
Two Nymphs or Wet Flies
Just like the dry fly-dropper rig above, fishing with two nymphs or wets allows you to cover two different feeding columns. Only now, you’re typically covering the middle column and the bottom. I think another advantage with a two nymph rig is they tend to balance each other out and drift better.
 There are a few different ways to rig for this and there are numerous strategies for fly selection and placement. If I have a nymph pattern that the fish are really after, I will sometimes fish two of the exact same fly. There have even been a few occasions when I’ve caught two fish at once! But usually I’m searching and I’m trying to provide the fish with options, so I’ll most often have two different fly patterns.
Keep in mind that (most of the time) your lowest fly on the rig will be fished near the bottom while the higher fly will be fished more in the middle column. I try to select and position flies with that in mind. For example, it’s far less likely to find a stonefly in the middle of the water column. They’re going to be found near the stream bottom, so logically, I want my stonefly nymph to be the bottom fly of my two fly rig. On the other hand, an emerging mayfly is more likely to be found in the middle feeding column. So, a soft hackle wet fly would probably be most effective as the top fly on my nymph rig.
You can rig like this with totally different flies or you may decide to stay in the same “family.” If you’re in the middle of or expecting, say, a caddis hatch, you may rig with a caddis emerger as your top fly and a caddis larva as your bottom fly. I’ve also had a lot of success choosing one nymph to act purely as an attractor. I may tie on a larger or brighter nymph as my top fly and a smaller or subtler nymph as my bottom one. I think that very often, the brighter or bigger nymph gets their attention, but they eat the subtler nymph below it. I tend to fish the nymphs a little closer together in these situations.
You can rig a pair of nymphs the same way we mentioned above, by tying one directly off the hook bend of the other – referred to as the in-line method. This is probably the easiest way to rig and fish two nymphs. But some don’t like this method because they don’t think it allows the top fly to drift freely.
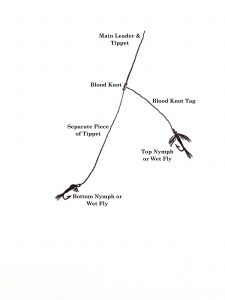
 A common way to rig two nymphs that will allow the top fly to drift more freely, is to use a blood knot to attach a section of tippet to the end of your leader. When tying the knot, take care to leave one long tag end, to which you will tie the top fly. The bottom fly will be attached to the end of the new tippet section. This definitely allows the top fly to have more movement and it puts you in more direct contact with both nymphs. Though for me, this method results in a lot more tangles so I only use it for specific scenarios.
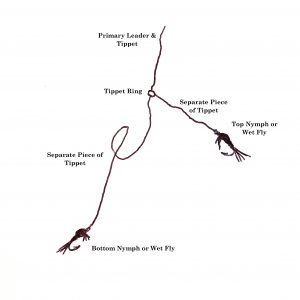
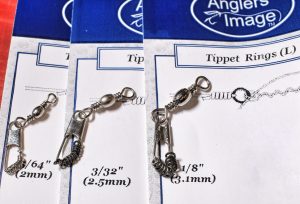
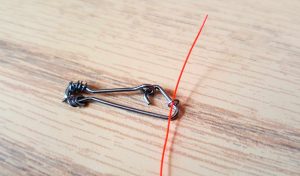
You can also rig quite similarly using a tippet ring (discussed in another article in this newsletter). With a tippet ring attached to the end of your leader, you tie one shorter piece of tippet to the ring, to which you will tie your top fly. And you tie a separate, longer piece of tippet to the ring, to which you’ll tie your bottom fly. This is a pretty simple way to do things but will also likely result in a few more tangles than the in-line method.
These are just examples of a few of the more common methods for fishing and rigging multiple flies. Play around with it and find what combos and techniques work best for you. Never be afraid to experiment!
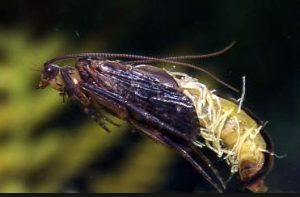
 Few fly fishermen, if any, possess the knowledge and experience of Joe Humphreys. Joe is probably best known as a teacher and an author, but over his many decades in the business, he has also created a number of original fly patterns. By far, my favorite is the Humphreys’ Caddis Pupa.
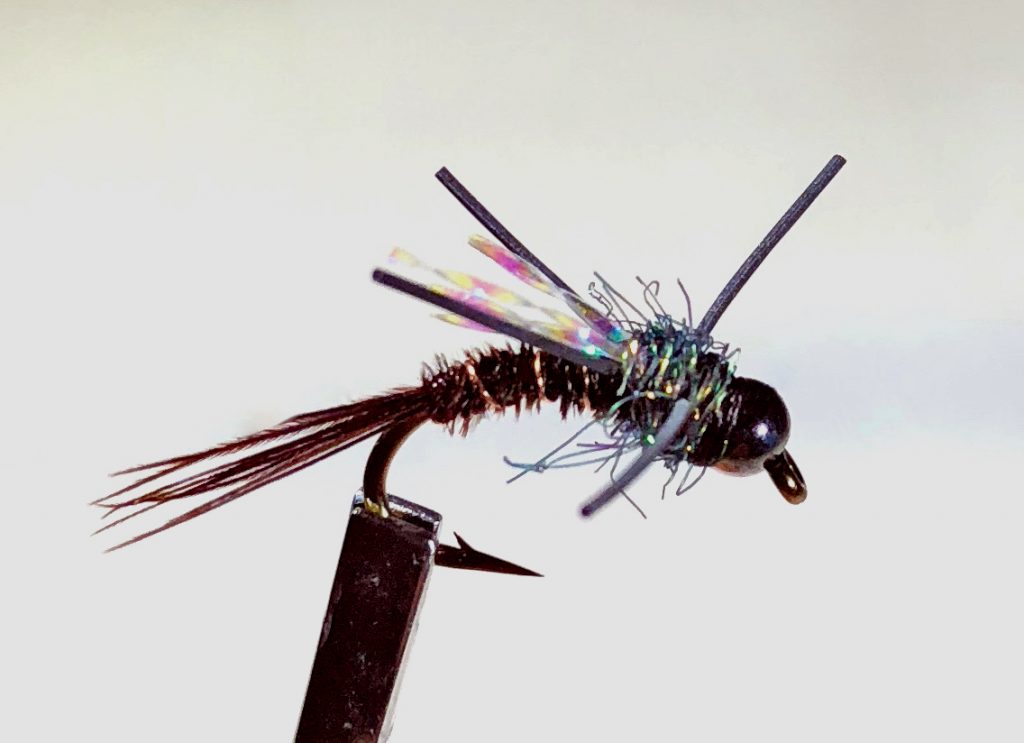 Fly Tying is a lot like cooking in many ways. Of course, in both pursuits, you’re combining a variety of ingredients to create one final product. And the quality of those ingredients along with the skills of the person putting them together can tremendously impact the end result. But the issue of originality is also quite comparable.
 I almost always fish with two flies when I’m trout fishing. There are just so many advantages to it. Beside the obvious advantage of potentially offering two fly choices to the trout, it provides you the opportunity to simultaneously present a fly in two different feeding columns. Below, I’m going to talk about some of those strategies as well as a few different ways to rig a dropper system. As a bonus, you get to enjoy some of my horrific artwork!
 I typically rig this by tying my dry fly directly to the main leader and tippet. I’ll then take probably 18”-24” of tippet material and tie one end to the nymph, and the other to the bend of the hook on the dry fly. There are certainly a lot of variables, such as water depth or where you think the fish might be feeding, that determine how far apart you put the two flies, but the amount mentioned above is a pretty good “default setting.” I like to use a clinch knot to connect to the bend of the hook, but whatever knot you usually use to tie a fly on should work fine.
 With that in mind, know that this method may not be suitable for every situation. For instance, if you need to get a nymph deep, particularly in a faster run, you’re going to need a lot of weight and using a dry fly–dropper rig is not going to be effective. You’re better off using traditional nymphing techniques for that. But for fishing hatch scenarios where fish are actively feeding on and just below the surface, or for fishing to opportunistic feeders in shallower pocket water, it’s pretty tough to beat.
 There are a few different ways to rig for this and there are numerous strategies for fly selection and placement. If I have a nymph pattern that the fish are really after, I will sometimes fish two of the exact same fly. There have even been a few occasions when I’ve caught two fish at once! But usually I’m searching and I’m trying to provide the fish with options, so I’ll most often have two different fly patterns.
 A common way to rig two nymphs that will allow the top fly to drift more freely, is to use a blood knot to attach a section of tippet to the end of your leader. When tying the knot, take care to leave one long tag end, to which you will tie the top fly. The bottom fly will be attached to the end of the new tippet section. This definitely allows the top fly to have more movement and it puts you in more direct contact with both nymphs. Though for me, this method results in a lot more tangles so I only use it for specific scenarios.
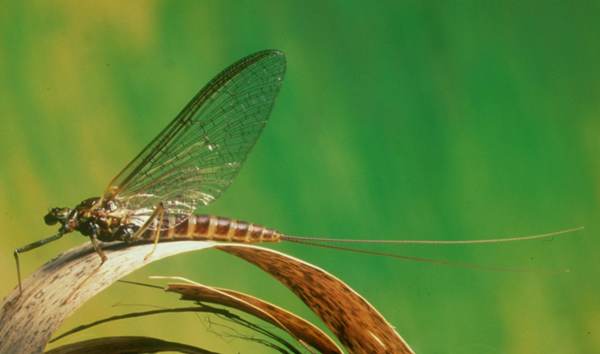 So, I’m writing about March Browns not because they are necessarily of great significance to the Smoky Mountain fly fisherman, but mainly because they’re just really cool bugs! Like many aquatic insects in the Smokies, this mayfly does not usually hatch abundantly enough to really get the trout keyed in on them, but it is worth keeping a few in your fly box. In other words, you probably don’t need fifteen different March Brown patterns in subtly different colors. Having a few of a basic pattern should do the trick.
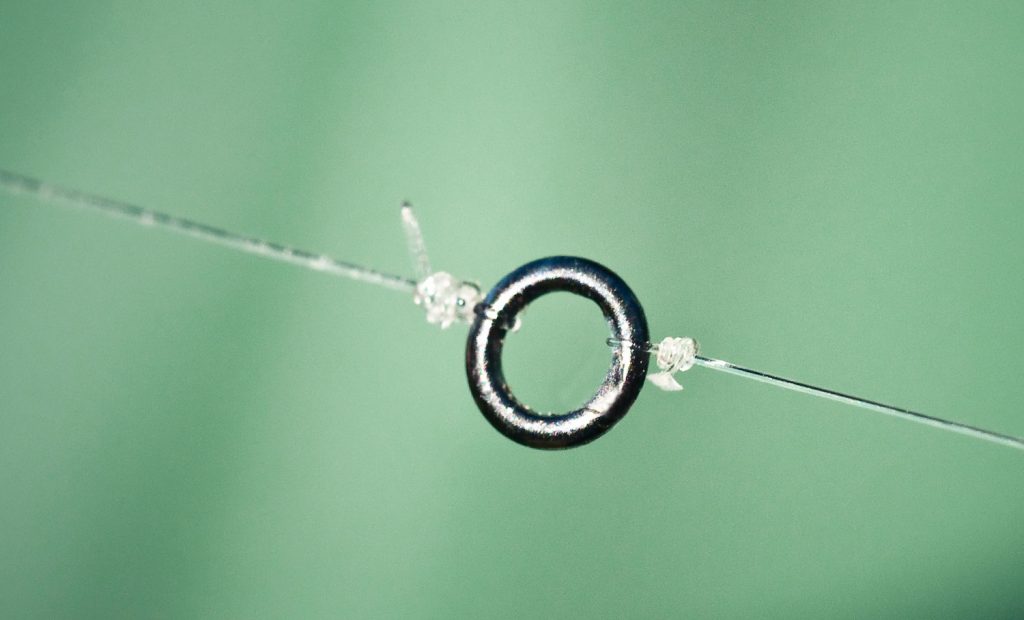 Over the last few years, tippet rings have been gaining more and more popularity and acceptance. Most new fly fishermen love them. Most traditionalists hate them. What are they?
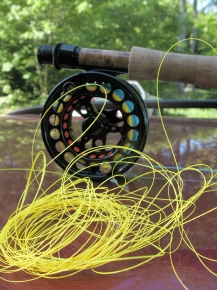 At the end of your fishing day, strip all of the loose coils of fly line from your reel and reel it back on tightly, using your fingers to apply pressure and guide the line evenly on the reel. This will ensure you begin your next fishing day tangle free!
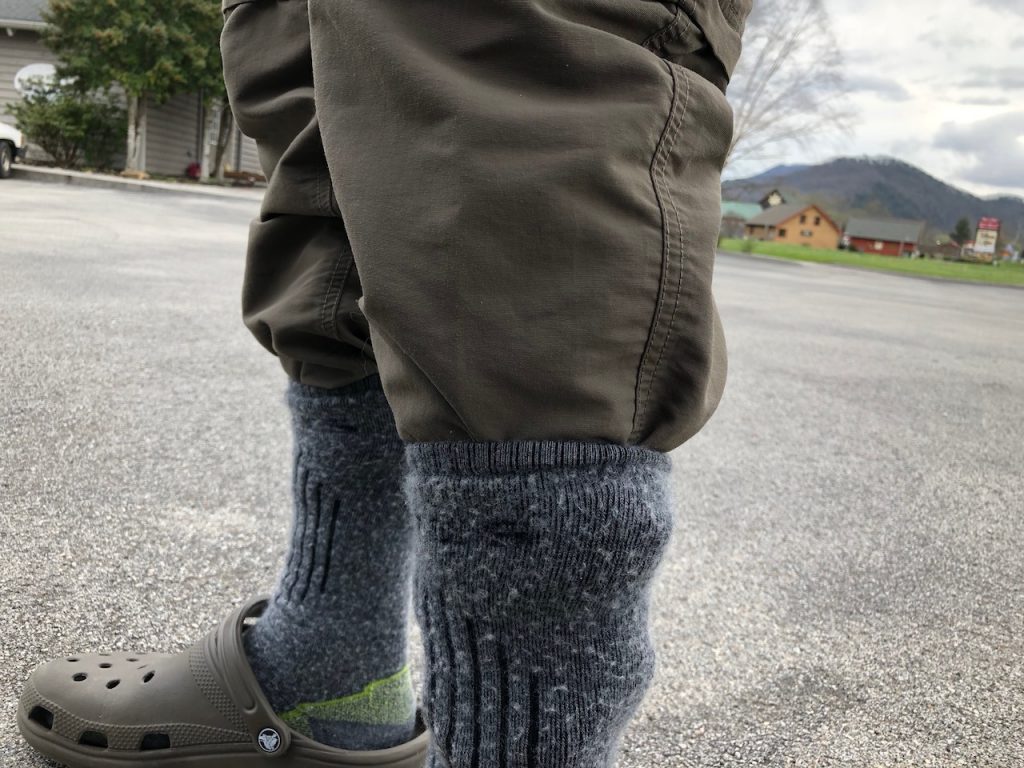 Prepare your boots and waders before putting them on. Walking around on the neoprene feet of your waders looking for boots and other gear is a good way to damage them. Have your boots ready to step into as soon as you slip on your waders and consider having a mat to stand on. Also, tucking your pant legs into your socks ahead of time will prevent them from “riding up” your legs when you put on your waders.
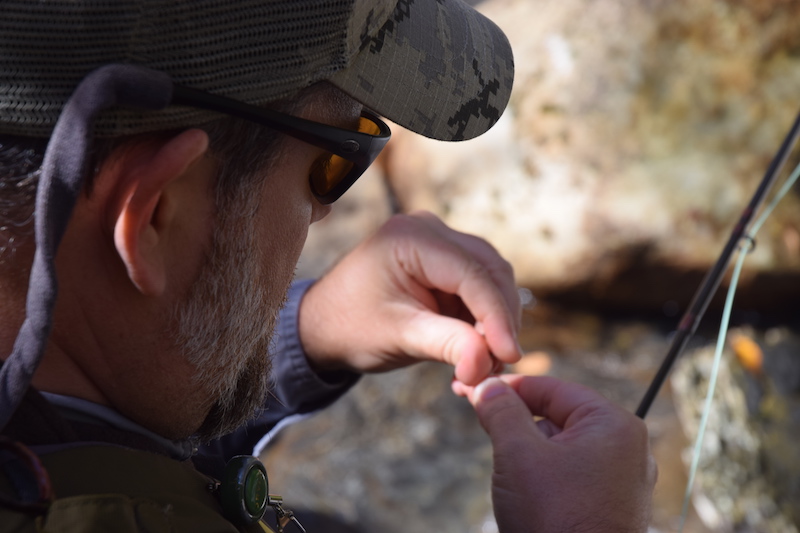 Probably 20 years ago, I was fishing the Clinch River with a buddy during the sulfur hatch. I won’t get into what has happened to that hatch, but back then, it was epic. Sulfurs would come off by the thousands for 4-6 hours a day for about 3 months. We would drive down from Kentucky to fish it and on most trips, we would both steadily catch fish, many topping 20”.
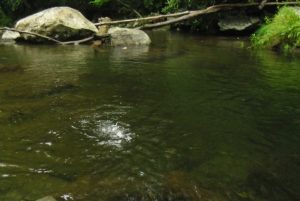
 If fish are actively rising but you don’t see any bugs in the air, check the water. Try to position yourself at the bottom of a feeding lane (downstream of where the fish are feeding) and watch the surface of the water (and just beneath) for drifting bugs. Holding a fine mesh net in the current is a great way to collect what’s coming down the channel, but if you don’t have one, your eyeballs will do just fine. If you see some insects, capture one and try to match it with a fly pattern.
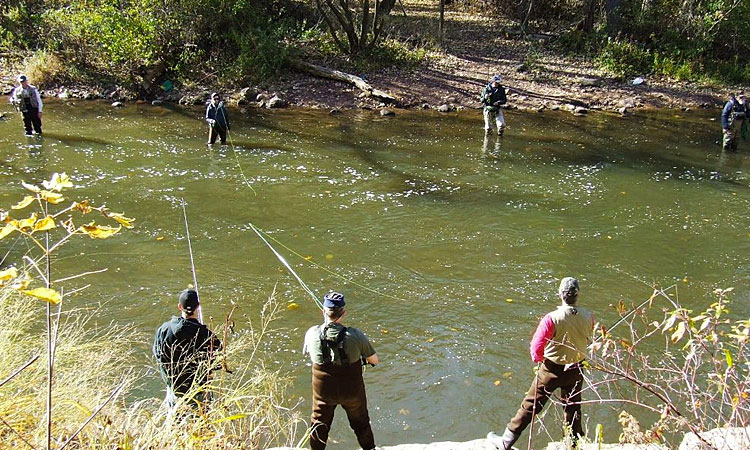 When I first started fly fishing, it was a different time. It was before everyone had access to the Internet. There were no message boards. There was no Twitter. There was no Facebook. Many fisheries didn’t receive nearly as much pressure simply because not nearly as many people knew about them. And to the fishermen who did know about them, they were closely guarded secrets shared only with a handful of trusted friends.