 As with most things in fly fishing, fishing packs and vests have come a long way over the years. The great thing about that is you now have a seemingly endless array of ways to carry and organize your on-stream tools and accessories. The bad thing is those seemingly endless choices can be a bit overwhelming.
There is certainly no right or wrong pack or vest. The best option for you will boil down to how much stuff you plan to carry, where you plan to carry it (backcountry or more roadside), and how you want to organize it. As with fly rods, the more diverse your fishing adventures are, the more likely you’ll need more than one option. For instance, what might work well for backcountry trout fishing in the mountains may not work very well wading saltwater flats. But for most folks, you should be able to find one system that works for all of your fishing needs.
Again, what works best for me may not suit you at all, so I’m not going to try to tell you the best product. However, I have had the opportunity over the last 30 years to use most every style of vest/pack and will share below what I believe are pros and cons of each.
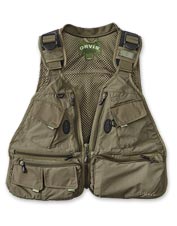 Vests: For decades, this has been the standard for carrying fly boxes, tools, etc. on the stream and while there have been some changes over the years, the basic concept is still the same and this is still the choice for many anglers. One of the greatest benefits of a vest is that with individual pockets for nearly everything, it’s really easy to keep things separated and organized. And the design of the vest is such that you can keep most of those items quickly and easily accessible. Most vests will also have larger compartments on the back for items that you may not need to access as frequently, like a rain jacket or lunch. D-rings on the back of a vest also make a great place to attach a net where its out of the way but easily accessible with the addition of a magnetic or clip attachment.
While there have been numerous improvements over the years, the biggest complaint with vests still seems to be that they are heavy, with most of the weight being carried on your neck and shoulders. Another downside is they do not wear well with a backpack. If you like to do a lot of backcountry fishing, you may want to carry more safety and comfort provisions that necessitate a backpack in addition to your fishing gear. It can be difficult to comfortably and practically wear a backpack when the straps are going over full, bulky pockets on a vest.
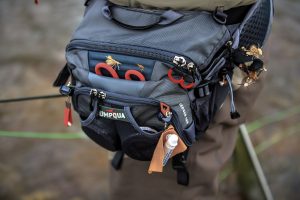 Hip Packs: These are often worn around the waist on the rear when not fishing, and rotated to the hip when accessing items in the pack. Probably their greatest advantage is that they stay out of your way when fishing and offer total freedom of movement when casting, etc. There are also accessories you can add (or may be built in to some packs) for carrying a net.
The biggest downside to a hip pack is that it doesn’t keep items as organized and it can be more difficult to access those items. Additionally, the hip pack, by itself, usually does not have the capacity to carry larger items like a rain jacket or lunch. However, a hip pack does wear comfortably with an additional backpack. Many will use the hip pack alone when fishing closer to the car and add a backpack when fishing in the backcountry. Finally, these are not the best option for someone who does a lot of deep wading. Although, there are a lot of waterproof options now.
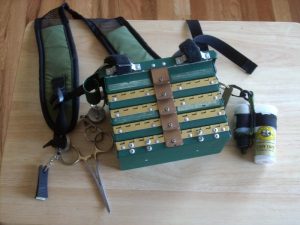
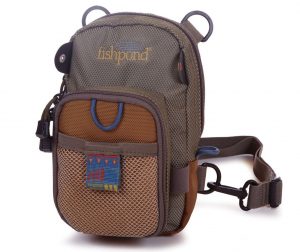 Chest Packs: These, as the name implies, are designed to be worn on the chest and come in a number of sizes. They organize things in much the same way a hip pack does but keep things far more accessible on your chest and high out of the water. Many will have a D-ring on the rear of the neck strap for carrying a net. I would include a chest fly box (like I use) in the same category as a chest pack, except that there is no need for separate fly boxes.
Some don’t like having a cumbersome item on their chest and some of the larger chest packs can be quite cumbersome. Smaller chest packs are very comfortable but don’t carry as much stuff. In either case, you won’t have enough capacity to carry large items but like a hip pack, you can easily wear a backpack with your chest pack to carry more things when travelling far from the car. Some companies even make “fishing backpacks” designed in such a way that a compatible chest pack can clip to the front of it.
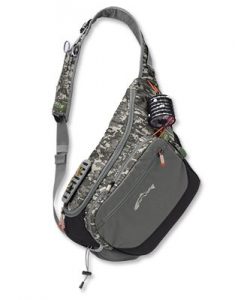 Sling Packs: These are the latest trend in fishing packs and are designed to be more accessible than a hip pack and more out of the way than a chest pack. They are worn diagonally across your body so that they can be easily “slung” around to your front when you need to get to it. It can then be “slung” around and secured out of the way on your back when you’re fishing. They come in small and large sizes depending on how much you need to carry.
These packs are well designed and very comfortable but even the big ones don’t have enough capacity to carry everything you might want to take on a trip deep into the backcountry. On such a trip, I typically carry a rain jacket, lunch, first-aid kit and plenty of water. I also regularly carry my wading boots in on long hikes. You need a backpack to carry those items and a sling bag just can’t be worn and utilized with a backpack. The other downside to a sling bag is there just doesn’t seem to be a good place to carry a net (if needed) without it getting in the way.
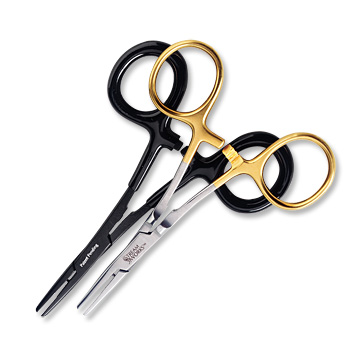
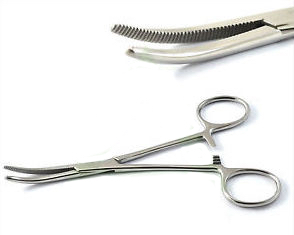
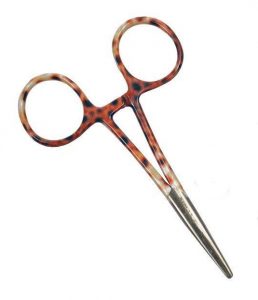
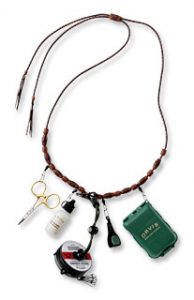 Lanyard: A fishing lanyard is basically a necklace for carrying your essentials around your neck. Most will comfortably carry and organize nippers, forceps, tippet, floatant and small fly box. By itself, this is for the absolute minimalist. For others, it may be a way to keep essential, frequently used items immediately accessible while carrying other less frequently used items in a hip pack or backpack.
The downside is fairly obvious with a lanyard. It has almost zero capacity. There is no place for rain jacket, lunch, water, camera, leaders, multiple fly boxes, etc. In my opinion, the only reasonable use for a lanyard would be in a boat or in conjunction with another pack as mentioned above.
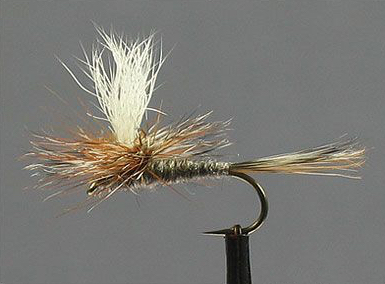
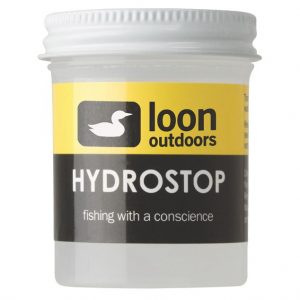 While many anglers use them in different ways, liquid floatants are probably most useful before you ever get to the stream. Whether dry flies that you tie yourself or buy from a shop, you can use a liquid style floatant to “pre-treat” new flies in much the same way as you might “Scotchgard” your sofa. Exact application may vary and you should read the recommendations for the specific brand you purchase, but typically, flies will be soaked in the liquid for five minutes or so and then set out to dry overnight. In theory, after application of the product, water will better bead and roll of the fly material rather than absorb into it.
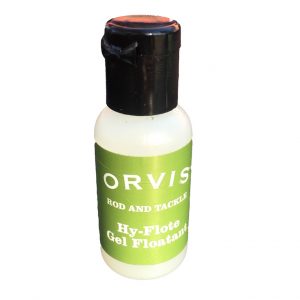 Gel floatants are probably the most common and popular style of floatant. They come in a small, very portable bottle and, like the liquid floatants, are designed to be a pre-treatment to an already dry fly. The big difference is gel floatants are designed to be used streamside, immediately before fishing the fly.
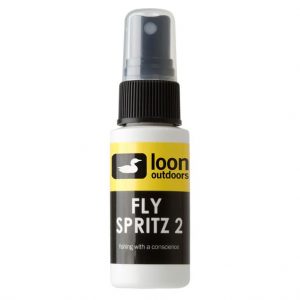 Also normally applied while the fly is still dry, spray floatants are basically just a variation on a gel floatant. Spray floatants come in a bottle with a pump top and are applied much like you would spray something like an eyeglass cleaner. They are not as messy as the gel but are sometimes more challenging to completey coat the fly.
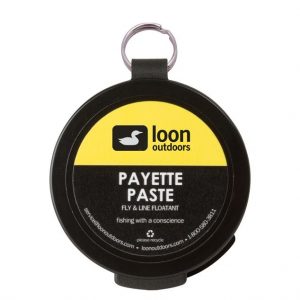 These are basically just a thicker version of a gel floatant. They can really create a mess on smaller dry flies and are probably best suited for larger dries like hoppers and stoneflies. A lot of people prefer a paste floatant to apply to yarn strike indicators or even on a leader to keep it floating better.
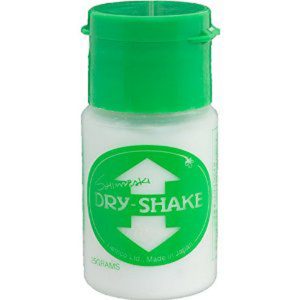 These are used less as a pre-treatment and more as a means to revive a saturated fly. As mentioned above, when a dry fly becomes oversaturated and begins to sink, applying a gel or spray can often make it worse by trapping moisture in. Powder floatants are used to absorb and remove that moisture from a fly.
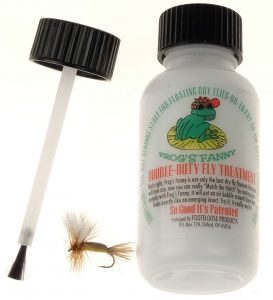 Brush floatants are essentially another version of a powder floatant. Rather than shaking the fly inside the bottle, a small brush is used to apply the powder to the fly. Again, it’s personal preference but with brush floatants, be prepared for a little frustration on windy days!
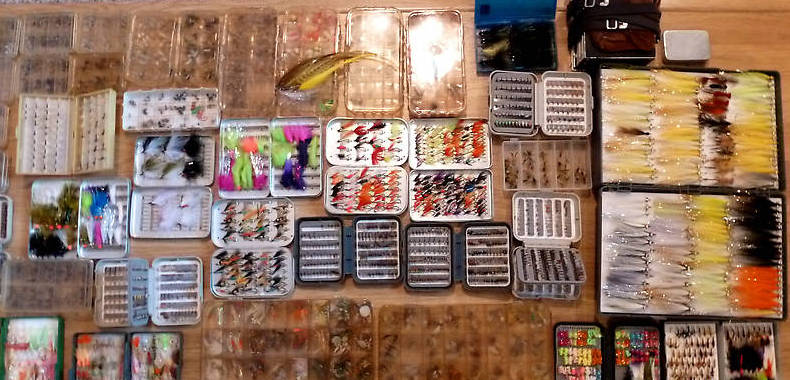 I’m a bit of an oddball. This is not exactly breaking news for most folks who know me. But to paraphrase John Gierach, “If, from time to time, people don’t walk away from you shaking their head… You’re doing something wrong.” I could certainly dedicate an entire article, or even a book, to my oddball qualities, but for this article, I am referring to one specific oddball quality. I fish and guide with a set-up that combines a pack and fly boxes all in one contraption. You’ve seen it. It’s my chest fly box, custom built by the
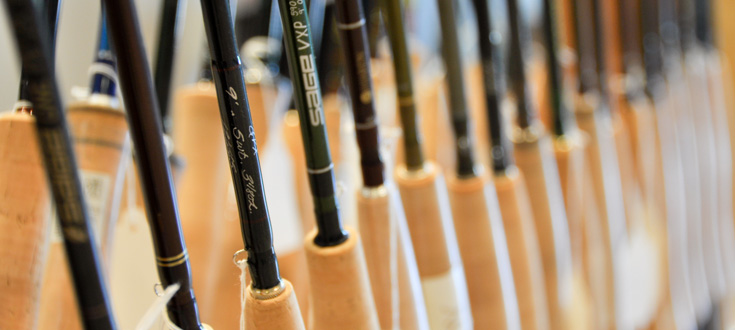 This should probably go without saying, but the fly rod is the tool used to cast the line when fly fishing. It is also used to manipulate line on the water after the cast, to set the hook on a fish (usually), and to fight the fish after hooking it. It is certainly one of the most important pieces of your equipment and likely the piece of equipment in which you’ll invest the most money. So, what do you need to consider before making this investment? The three most important characteristics of a fly rod are its length, its line weight designation, and its action.
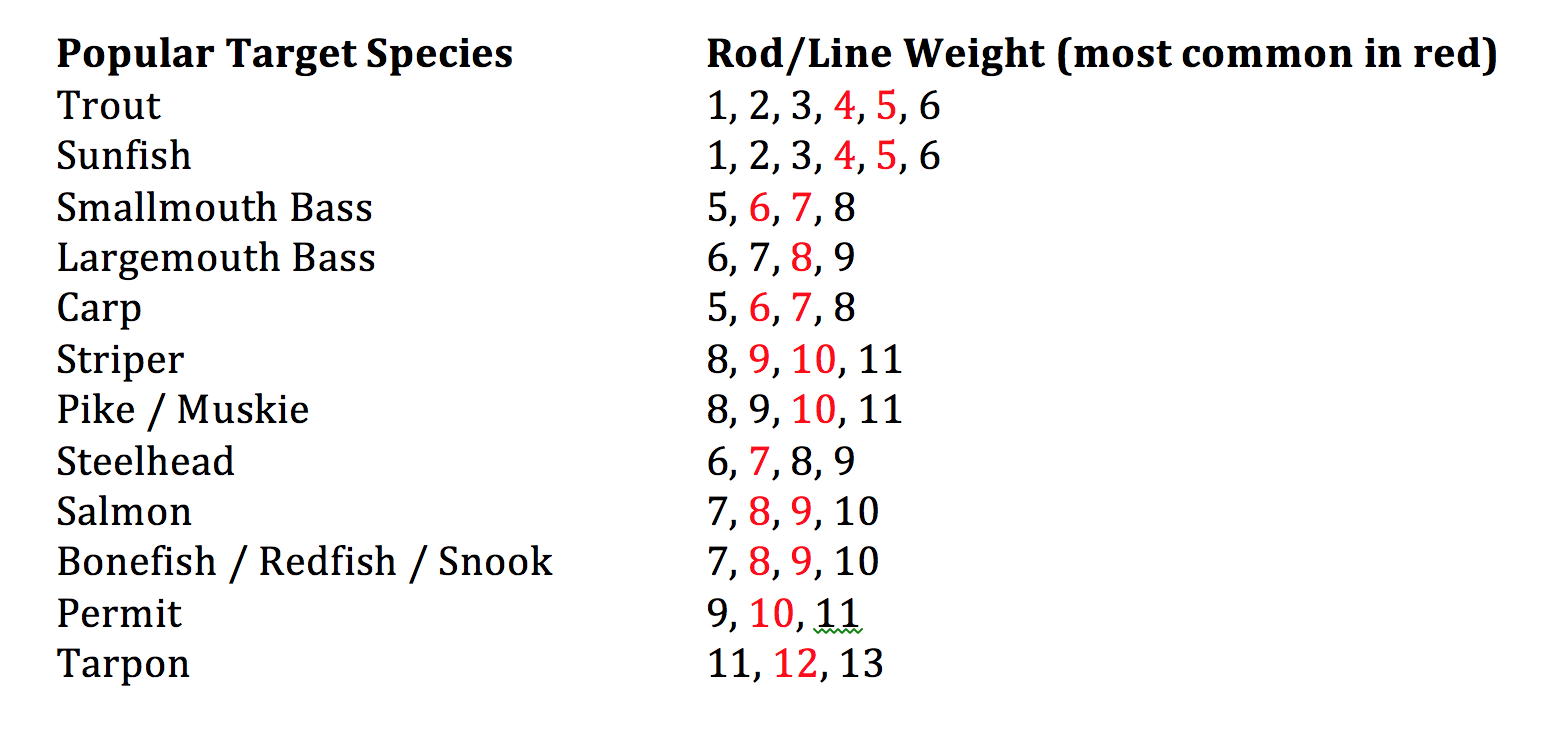 For trout, we are most often fishing with smaller flies on a dead drift. Lighter lines allow for a more delicate presentation and create less drag. On the other hand, when fishing for bass, we are often trying to “punch” flies into tight areas and quickly pull fish out of areas with a lot of woody structure. And we are typically using larger, heavier, wind-resistant flies. Often, there is simply not enough weight in a 4-weight line to effectively “turnover” a larger bass bug. Rather than the line carrying the fly on a level plane during the cast, the fly travels below the line, often catching the rod tip or worse, the back of your head!
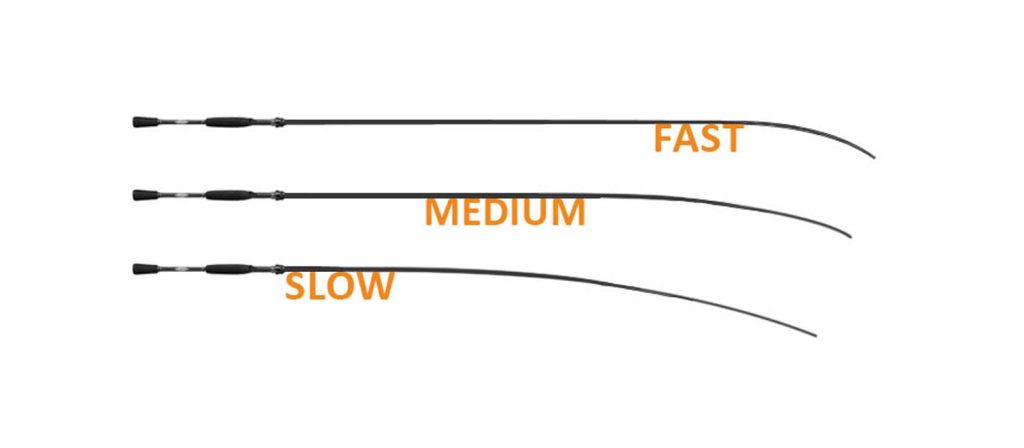 Slow action rods are more delicate in their delivery of the line and are more ideal for softer presentations. You tend to feel the fish more on a slow action rod and because it flexes much deeper in the rod, it is capable of better protecting very light tippets. Most rods in the 1 to 3-weight range are slower action rods. Typically, rods in the 4 to 6 weight range are available in a number of different actions.
 In the old days, fly rods were made from bamboo and their price depended on things like who made them and whether or not they were mass-produced. Some of the rods made by certain independent makers are extremely valuable today. Most of the bamboo rods that were mass-produced by larger companies have little value. Bamboo rods that are made today are mostly made by independent makers and have price tags in excess of $1000 largely because of the amount of time and craftsmanship that goes into making them.
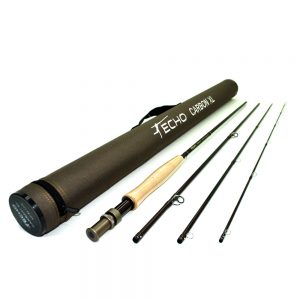 Bamboo rods, for instance, had/have metal ferrules (joints). To make a four-piece bamboo rod results not only in a lot of added weight, but “dead spots” at each of those joints. Carbon fiber rods have carbon fiber joints, allowing for a multi-piece rod that is still light and still maintains its action. Most carbon fiber rods today break down to four sections, allowing for easy storage and travel. Some break down into as many as seven pieces!
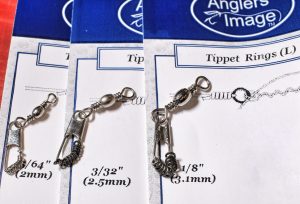
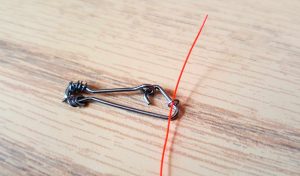
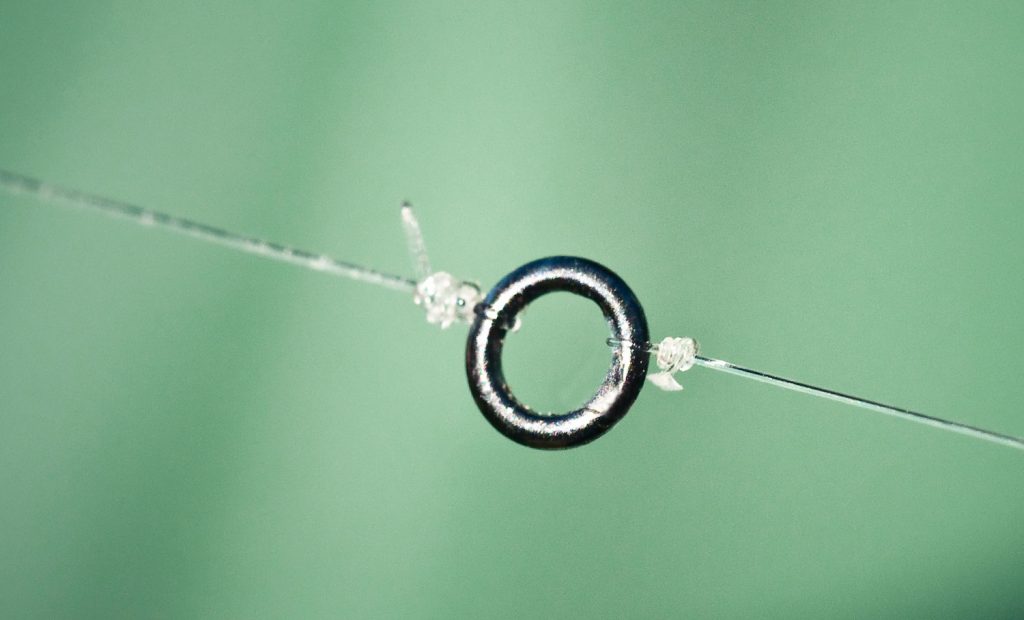 Over the last few years, tippet rings have been gaining more and more popularity and acceptance. Most new fly fishermen love them. Most traditionalists hate them. What are they?
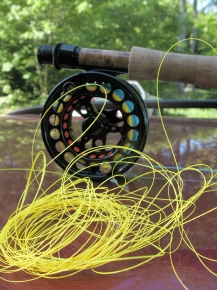 At the end of your fishing day, strip all of the loose coils of fly line from your reel and reel it back on tightly, using your fingers to apply pressure and guide the line evenly on the reel. This will ensure you begin your next fishing day tangle free!
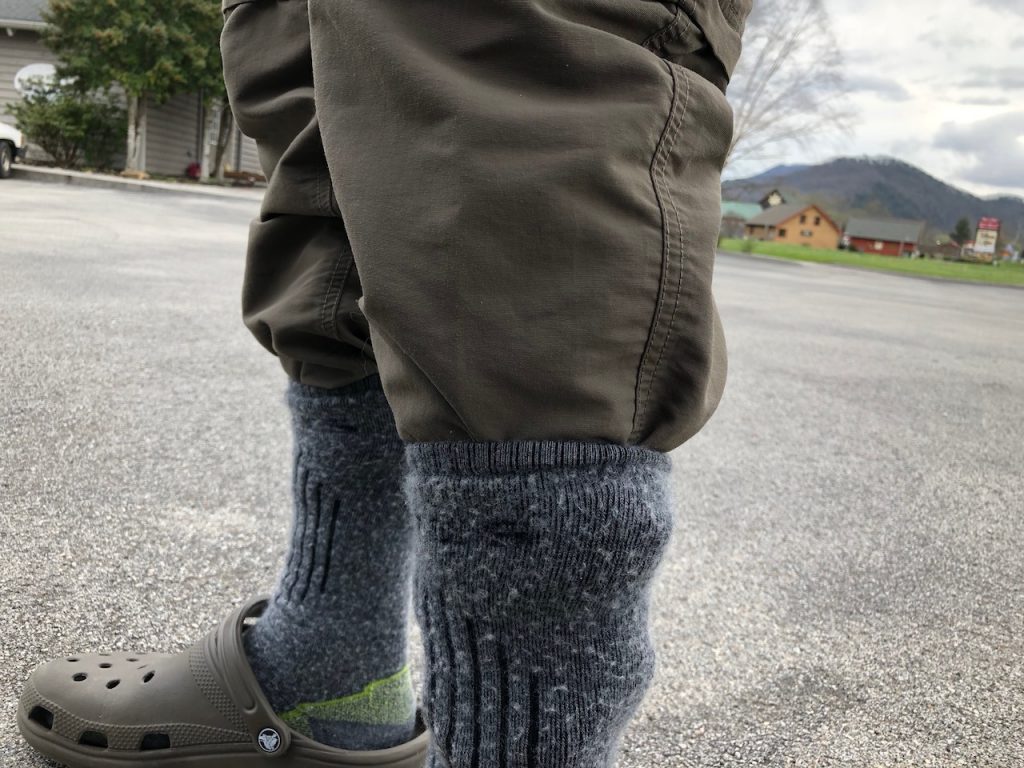 Prepare your boots and waders before putting them on. Walking around on the neoprene feet of your waders looking for boots and other gear is a good way to damage them. Have your boots ready to step into as soon as you slip on your waders and consider having a mat to stand on. Also, tucking your pant legs into your socks ahead of time will prevent them from “riding up” your legs when you put on your waders.
 I recently saw a post on Facebook from a gentleman who had broken two fly rods on one trip. Another person commented about “having the record” for taking the most broken rods back to his local fly shop. They proceeded to boastfully go back and forth about this as if it was some sort of badge of honor. Accidents happen and rods do break from time to time, but I had guided one of these gentlemen and it was no secret why he had broken so many.
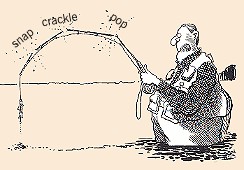 When we first met, I cringed as he pulled his rod from the trunk of his car. It was not in a tube and there were a variety of items piled on top of it. I’ve seen a lot of rods break over the years, but I’ve never seen a single one break while it was in the tube. If you knew him, it would come as no surprise that he forgot to bring a reel for the rod, so he ended up using one of mine.
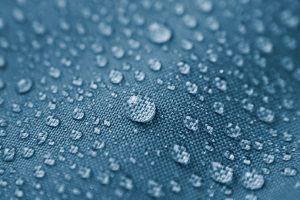 Treating your breathable waders with a DWR is a great winter project. As a matter of fact, if you have a breathable rain jacket, grab it and treat it at the same time. DWR (Durable Water Repellant) is basically going to allow the water to “bead” and roll off the fabric rather than absorb into it. I’ve had old waders and jackets that I never treated that, even though they were still waterproof, were absorbing so much water that they felt heavy and even clammy. DWR is good stuff. There are a few brands out there and can usually be found at camping/outdoor stores. I’ve personally had good luck with ReviveX Spray-on Repellant.
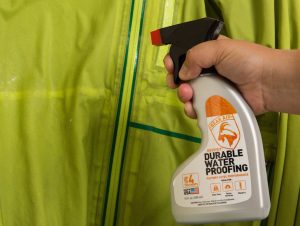 Start by washing the waders and/or jacket with a mild detergent as described above. Hang the garment(s) and spray evenly and thoroughly with DWR while the garment is still wet. I usually apply a little heavier around seams and stress areas such as the knees and crotch area on waders. On jackets, I put a little more emphasis on the shoulder area. You can then simply allow it to air dry where it’s hanging or put it in the dryer on low/medium for about an hour.