 I recently saw a post on Facebook from a gentleman who had broken two fly rods on one trip. Another person commented about “having the record” for taking the most broken rods back to his local fly shop. They proceeded to boastfully go back and forth about this as if it was some sort of badge of honor. Accidents happen and rods do break from time to time, but I had guided one of these gentlemen and it was no secret why he had broken so many.
 When we first met, I cringed as he pulled his rod from the trunk of his car. It was not in a tube and there were a variety of items piled on top of it. I’ve seen a lot of rods break over the years, but I’ve never seen a single one break while it was in the tube. If you knew him, it would come as no surprise that he forgot to bring a reel for the rod, so he ended up using one of mine.
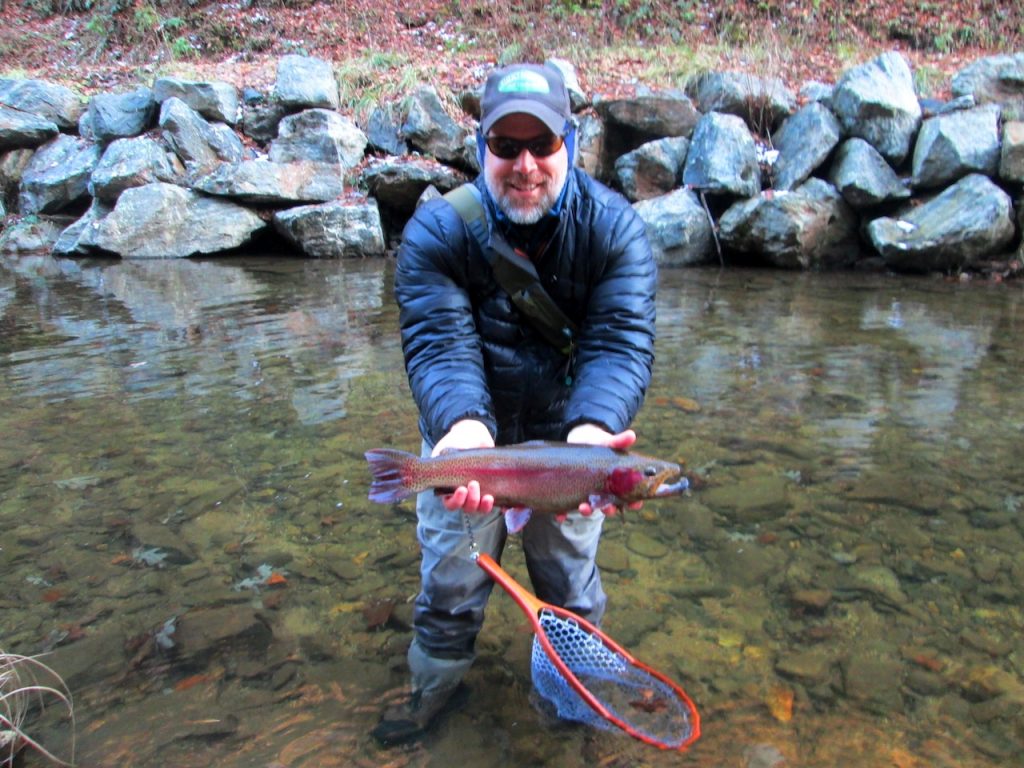
When he caught his first fish, he removed the hook and literally threw the rod on a rocky bank about ten feet away in preparation for a photo. I let it slide but when it happened again on the second fish, he got the “lecture.” Not only was he damaging the rod every time he did that but also the reel. Actually, he wasn’t doing the fly line any favors either!
Whether it’s cars, tools, fly fishing gear, or anything else, I was always taught that if you take care of your gear, your gear will take care of you. While taking care of your gear often means simply handling it responsibly in the field, simple maintenance out of the field can greatly extend the life of valuable fishing gear and insure that it’s ready to perform when you need it to. And what better time than winter for inspection and a little preventive maintenance?
Rods:
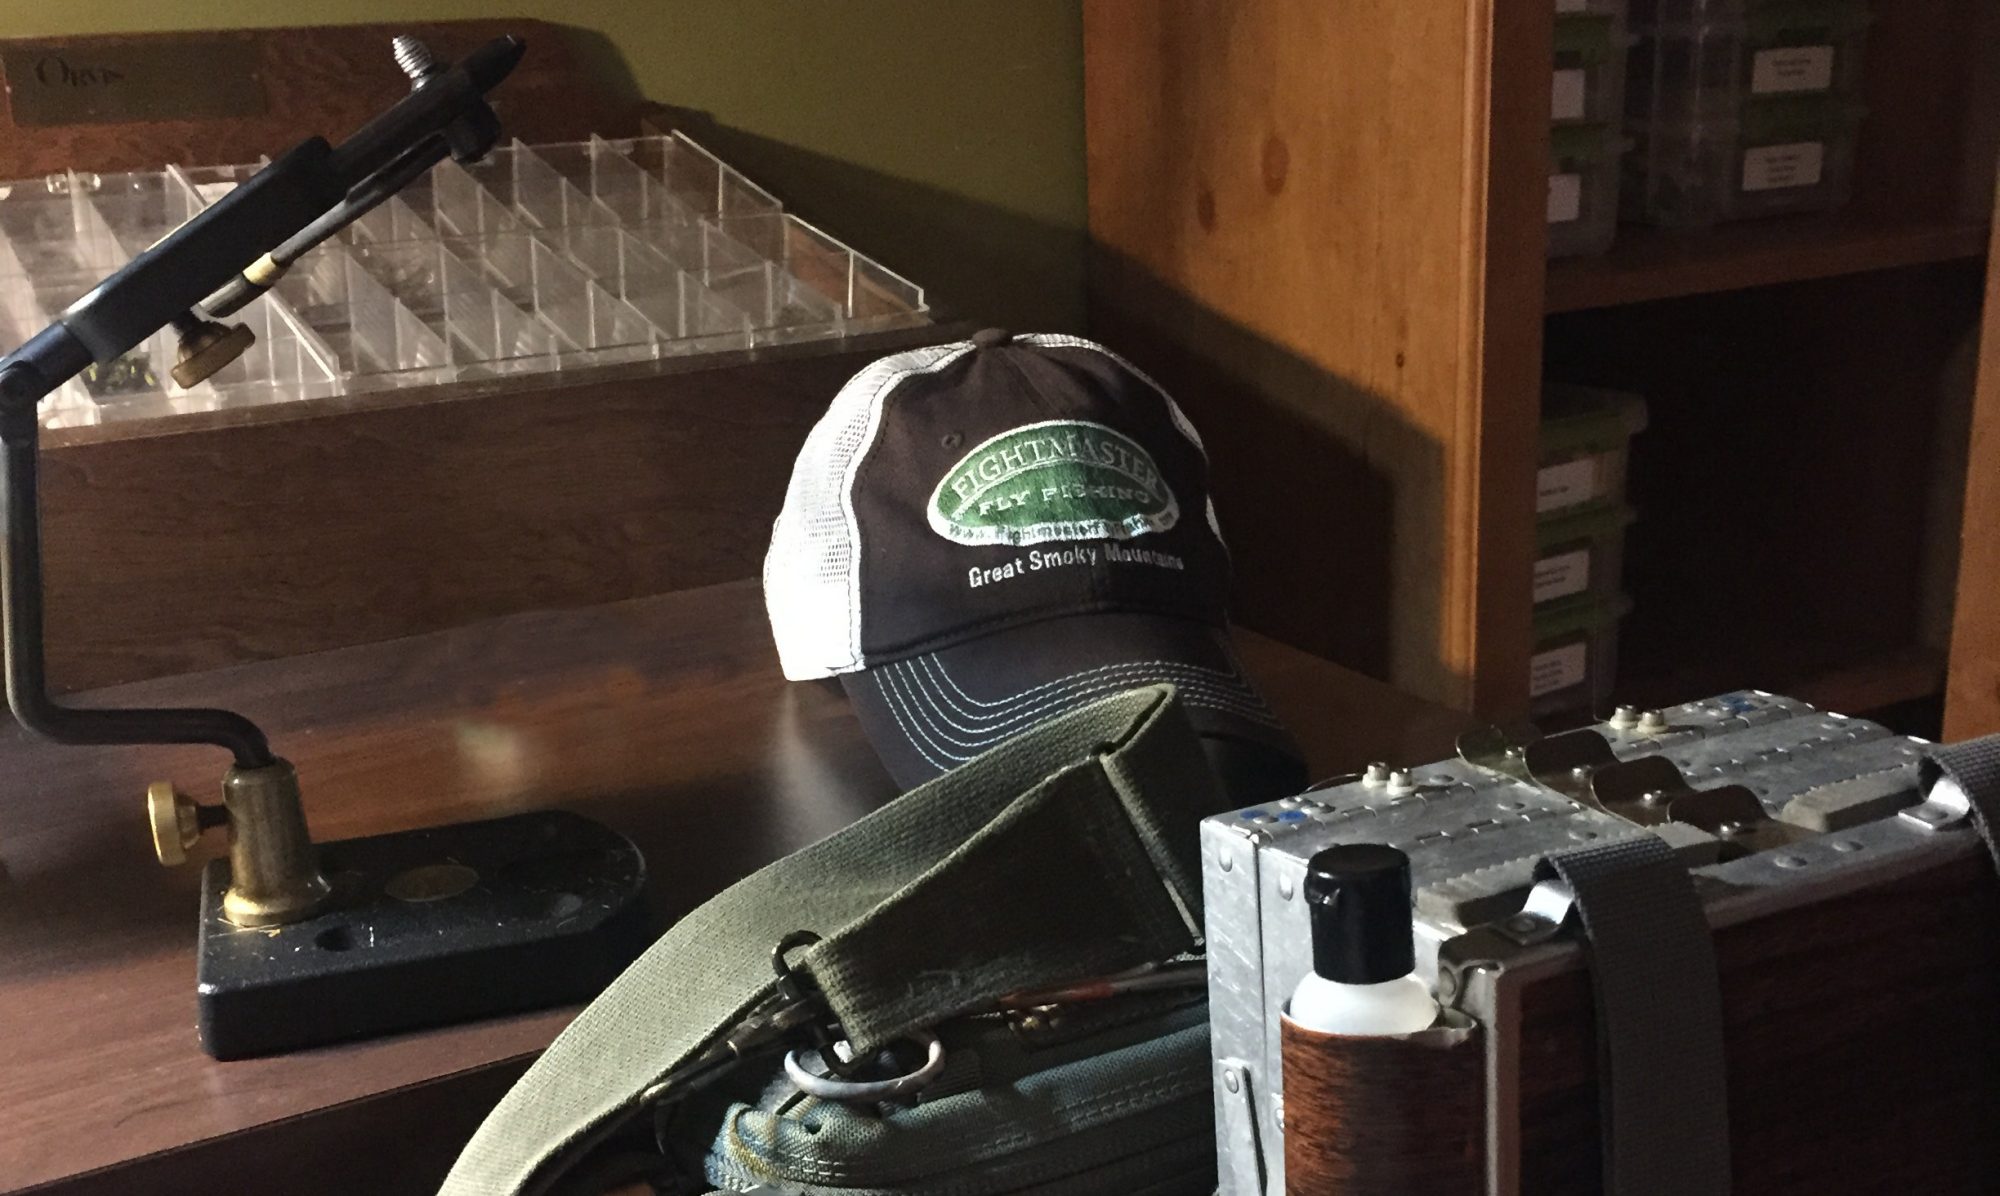
Fly rods don’t require a lot of maintenance. Basically, don’t heave them into rocks every time you catch a fish and keep them in a tube for storage and travel. However, be careful not to store them wet for an extended amount of time in an airtight tube. Simple off-season maintenance includes checking rod guides and wraps for any damage. If you notice a loose guide or a wrap beginning to fail, you can send it back to the manufacturer for a preventive repair, rather than waiting for the guide to come off while you’re fishing. When you are doing this, also check the ferrules (where the rod pieces join) for a good, snug fit. If any seem loose, apply a small coating of wax to the male end.
Reels: Fly reels are pretty low maintenance, too. First, check to make sure the reel is turning smoothly. If it’s not, be sure that there’s not too much line on it. If there’s not excessive line preventing it from turning smoothly, you likely have a bent frame or dented spool. If it’s minor, your local fly shop might be able to fix that. Otherwise, it will need to go back to the manufacturer.
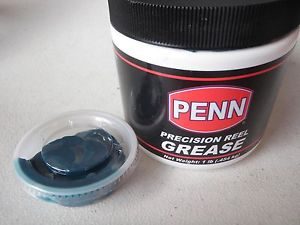
Assuming the reel is turning properly, all it really needs is a cleaning and “tune-up.” Remove the spool and rinse it and the frame with water. Wipe away any excessive grime build-up and apply a small amount of reel lube around the gears. Allow the reel to dry before putting back into storage.
Fly Lines: Fly lines probably require more maintenance than any other piece of equipment. You don’t have to completely remove it from the reel, but pull out at least the first forty feet of fly line. You can pull out the entire amount if you wish, but most people don’t use more than the first forty feet and it’s what will need the most attention.
Spread it out someplace other than the ground, such as between a couple of trees in the back yard. Take a small container and fill it with water and a couple drops of dishwashing liquid. Dip a clean cloth or paper towel in the liquid and run the cloth back and forth over the fly line. You’ll likely see a dark, grimy stain on the cloth after you do. Repeat this process with a clean cloth until you no longer see a stain, then do it one more time with just water and no soap.
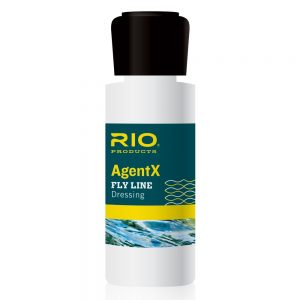
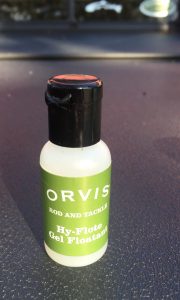
Now that your line is clean, you’ll want to treat it with something to keep it slick and prevent cracking. There are specific fly line treatments available at fly shops for this. Just rub into the line using the same method described above. Or something I like to use is ArmorAll. You buy the wipes and simply run the wipe up and down the line several times.
These steps should keep your line floating better, allow it to shoot through the rod guides better, and simply make it last longer. It wouldn’t hurt to do this periodically throughout the year, but at least once a year. It depends on how much you fish and where you fish. Fly lines used on scummy lakes and ponds will need more frequent attention than lines used in clear mountain streams.
Waders: Most wader care needs to happen throughout the season and that mostly involves being careful of thorns, etc. Probably the most damage occurs to waders when people are putting them on or taking them off at the truck. I regularly see fishermen put on their stockingfoot waders and then walk around looking for the boots or other items. This is just an invitation for gravel or other pointy objects to puncture the feet of the waders. The feet of my waders never touch the ground – boots are on the ground ready, foot goes into wader, wader goes into boot. If you’re not comfortable doing the “one leg hop,” keeping a mat to stand on is a great idea.
Also be sure not to store waders wet. Hang them to dry when you get home, preferably not in direct sunlight. Occasionally washing them through the year will help with their breathability and water repellency. Wash them on gentle cycle with a mild detergent. I recommend Ivory Snow, a detergent commonly used for baby clothing.
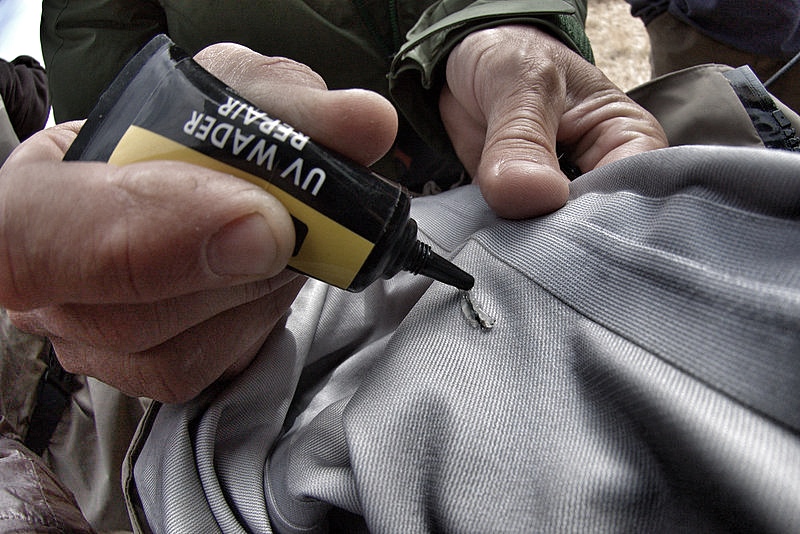
Winter is a great time to repair any leaks and/or treat with DWR. If you have major punctures or tears in your waders, you’re probably better off sending them to the manufacturer for repair or replacement. But most folks just encounter minor leakage caused by a pinhole or seam leak, and that’s pretty easy to fix yourself.
First, try to narrow down the location of the leak. For instance, if you’ve been getting damp on the inside of your right leg from the knee down, chances are pretty good that the leak is somewhere around the inside right knee. Sticking with that example, make sure the waders are completely dry, turn them inside out, and generously spray rubbing alcohol all around the suspected leak area. Still keeping the waders inside out, fill the right leg past the knee with water and look closely in the area where you sprayed the alcohol. You should see discoloration where the leak is. Mark that spot with a permanent marker.
Now that we know where the leak is, it’s time to repair. Again, allow the waders to dry completely. Where you made the mark with the marker, liberally smear Aquaseal on the area. Aquaseal is available at most fly shops and many camping/outdoor stores, and often, a small tube of it comes with your waders. Put the treated area of the waders in direct sunlight to cure. When the Aquaseal feels “solid,” the waders should be immediately ready to go. However, I’d move them inside to a dry place and wait 24 hours before using.
 Treating your breathable waders with a DWR is a great winter project. As a matter of fact, if you have a breathable rain jacket, grab it and treat it at the same time. DWR (Durable Water Repellant) is basically going to allow the water to “bead” and roll off the fabric rather than absorb into it. I’ve had old waders and jackets that I never treated that, even though they were still waterproof, were absorbing so much water that they felt heavy and even clammy. DWR is good stuff. There are a few brands out there and can usually be found at camping/outdoor stores. I’ve personally had good luck with ReviveX Spray-on Repellant.
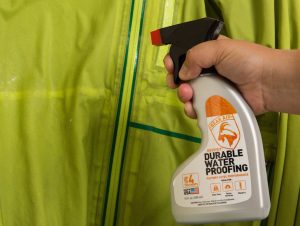 Start by washing the waders and/or jacket with a mild detergent as described above. Hang the garment(s) and spray evenly and thoroughly with DWR while the garment is still wet. I usually apply a little heavier around seams and stress areas such as the knees and crotch area on waders. On jackets, I put a little more emphasis on the shoulder area. You can then simply allow it to air dry where it’s hanging or put it in the dryer on low/medium for about an hour.
That about covers the big stuff. I also like to use winter to go through fly boxes and remove rusty hooks. Those have a way of contaminating the entire box after a while. And it’s a great time to go through your first aid kit and make sure everything is up to date, put new batteries in the flashlight, etc. Then, when spring rolls around, all you have to do is fish!

 The arrival of November usually means cold weather is not too far off, but it doesn’t mean that you have to quit fishing. Certainly the fishing for wild, mountain trout can slow down significantly as water temperatures fall, but tailwater trout and really any stocked trout will continue to feed well, even in the coldest of temperatures. In recent years, winter guide trips to Delayed Harvest streams have become a favorite of many clients, mainly because of the potential for really big trout.
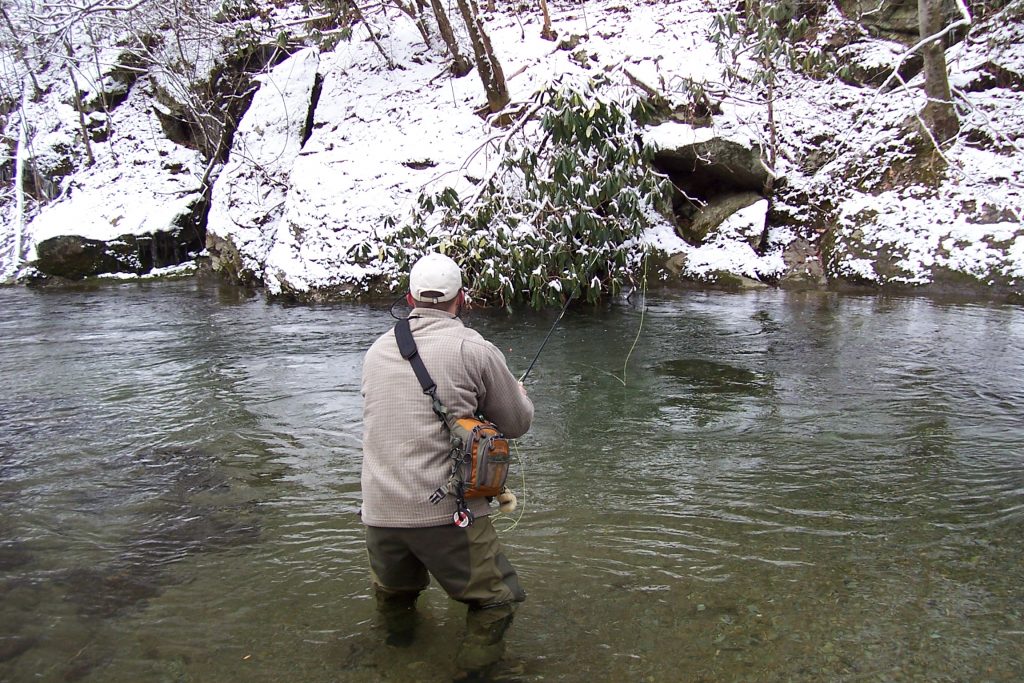 We’ve talked a lot about water temperature in many of these articles and for good reason. Things like approach, presentation, and fly selection can determine whether or not a fish will take your offering, but water temperature can determine whether or not a fish will take any offering! You can read in more detail about water temperature in A Matter of Degrees, but to keep it simple here, wild trout in the Smokies just don’t do a lot of feeding when the water temperature is in the 30’s and low 40’s.
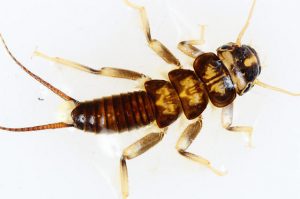
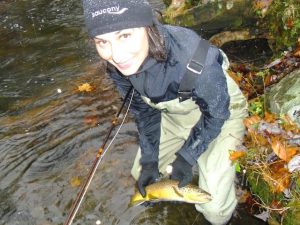 Once you think you’ve located feeding fish, it’s time to think about fly selection. On warmer winter days, you may actually see some insects hatching. If you do, they’re likely to be small and dark: Blue Wing Olive mayflies, small black stoneflies or caddis, dark olive or black midges… Rarely anything bigger than a #18. On rare occasions, you may see fish feeding on the surface during one of these hatches. Small Parachute Adams or Griffith’s Gnats are a pretty good bet in those instances. Mostly though, they’re going to feed more on the nymphs, so black Zebra Midges, small Pheasant Tails, and small black or olive Hare’s Ears will be pretty good bets.
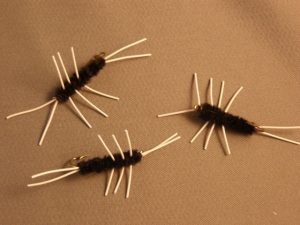
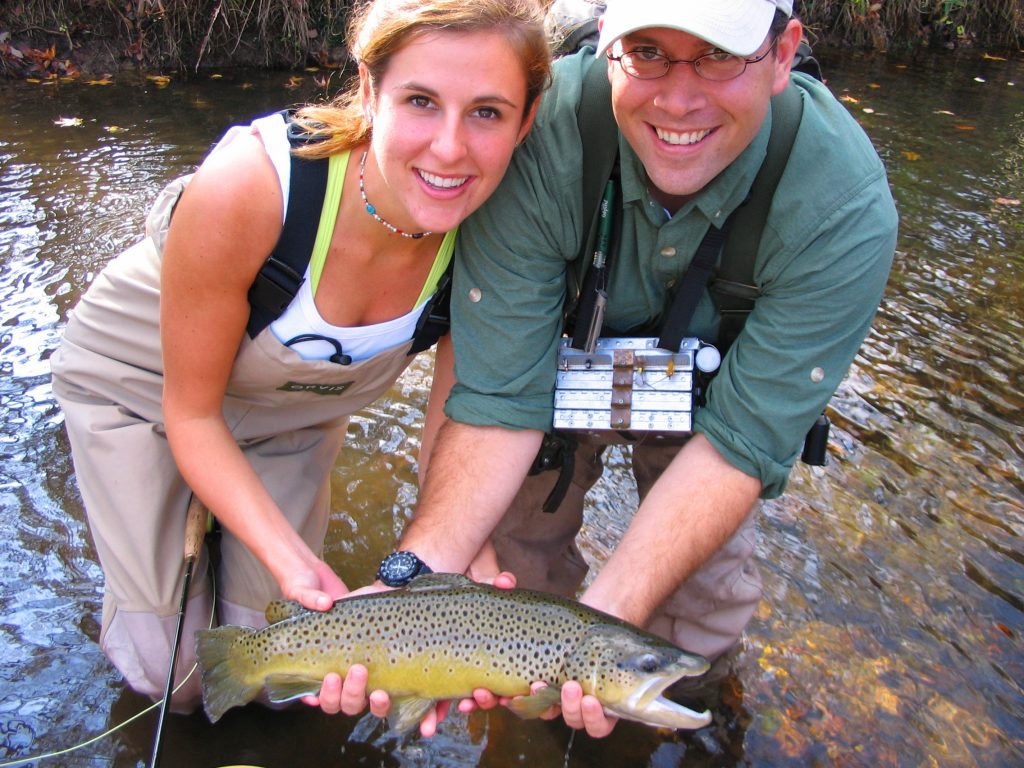 It’s the time of year when certain folks seem to be whispering more at the fly shop. They’re isolated in corners and peeking over their shoulders before saying too much. They’re talking about brown trout. Big ones. Somebody mentioned seeing a decent one around Metcalf Bottoms – about 18-inches. A younger guy innocently asked, “Since when did we start referring to 18-inch browns as ‘decent’?” The older guy replied with a grin, “October.”
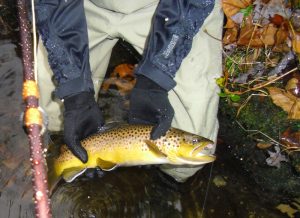 Fish that size don’t get caught often. Brown trout only live in a handful of rivers in the Smokies to begin with. They’re extremely cagey and for much of the year, they do most of their feeding at night – it’s illegal to fish the park at night. So, outside of the occasional big brown caught at dusk, or dawn, or after a good rain, we don’t get a lot of good shots at these guys. Until late fall.
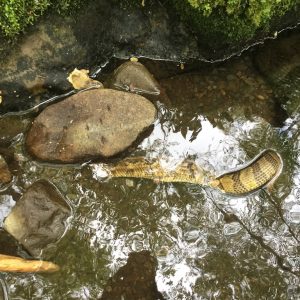
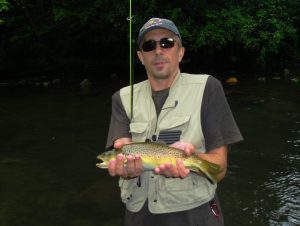 Most people aren’t willing to put in the time it takes to catch one of these fish. Unless you’re just going to depend on luck, you have to trade fishing time for looking time. You may not spot one at the first place, or second or third… And once you do spot one, you’re not done looking. You have to watch him for a while to figure out his pattern: how he’s feeding, where he’s feeding, when he’s feeding, IF he’s feeding. You then may have to spend a pain-staking amount of time sneaking into a position where you can cast to him without spooking him.
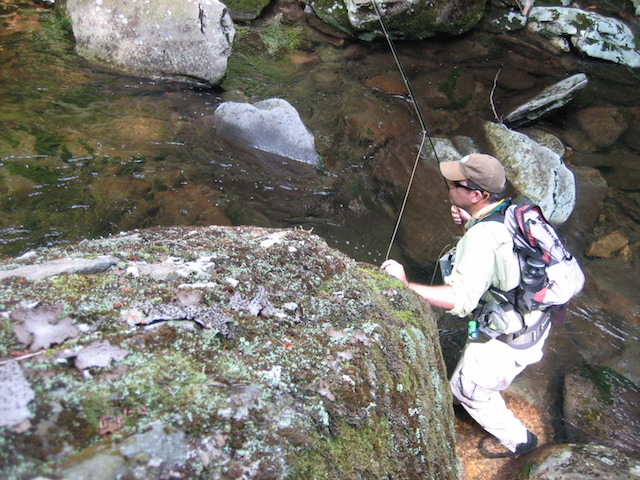
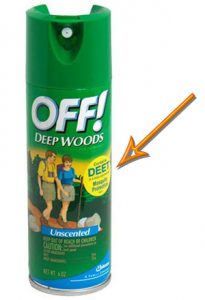 The best prevention for all of these, of course, is good old-fashion bug spray. Bug sprays with higher concentrations of Deet seem to be most effective, but be careful when using them. Deet has the ability to melt plastic, and getting a healthy dose of Deet heavy bug spray on your fingers can wreck a fly line. Just avoid spraying it on your palms and finger tips. If you’re one who likes to spray your hands and rub it on your face, just spray the back of your hands and rub it in that way.
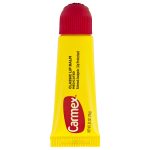 the woods, there’s a chance of picking up a tick. Deet based bug sprays will help with that, too. I still try to check myself periodically, particularly at the end of the day. If you do find one on you, there’s an easy way to remove it. Squeeze a dab of medicated lip balm (the gel type that comes in the squeeze tube) onto your finger and smear it on the tick. It will immediately release itself from your skin. Cool, huh?!? I always keep a tube of Carmex in my first aid kit for this reason.
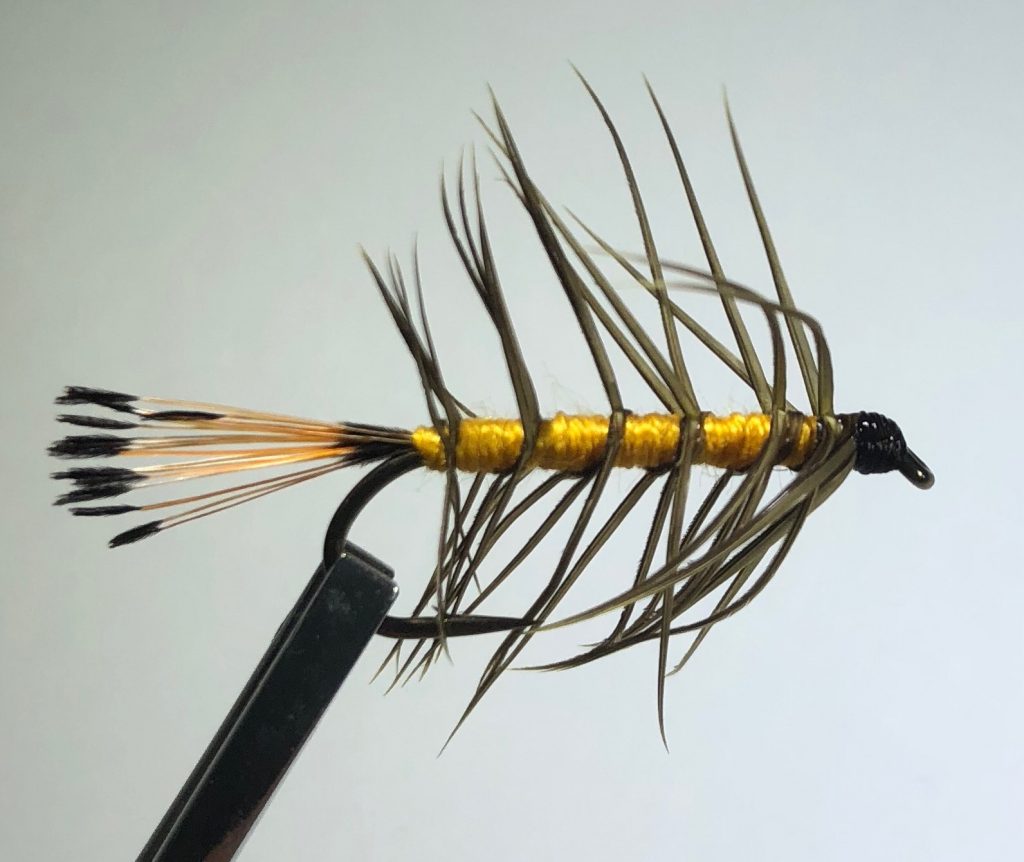 No fly holds near the lore among East Tennessee fly anglers as the Yallarhammer. It has long been known that the native brook trout that reside in Southern Appalachian mountain streams have a weakness for brightly colored flies, particularly if that bright color happens to be yellow. But before endless varieties of fly tying materials were so easily available from local fly shops, mail order catalogs, and the Internet, early fly tyers had to use feathers from local birds that they could shoot themselves.
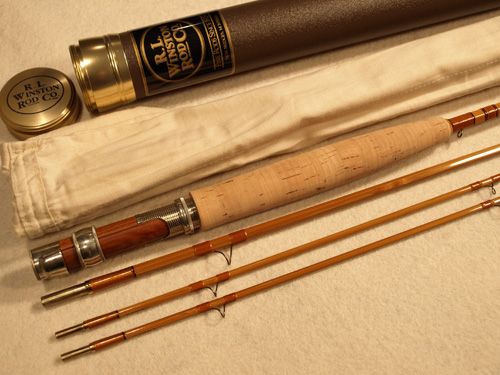
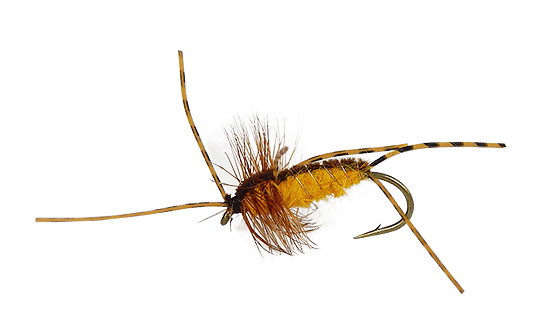 Since we’re talking about big browns this month, I thought it only fitting to feature one of my favorite flies for big brown trout. While I have caught a number of big browns on small flies over the years, most of the big guys in the mountains have come on larger stonefly nymphs. This is a little bit misleading as most of the large browns I’ve caught in the Smokies I spotted before I fished for them. And when I spot a big brown trout, I almost always tie some sort of stonefly nymph imitation to my line. Who is to say I wouldn’t have caught those same fish on a #20 Zebra Midge had I chosen that fly?