I could write thousands and thousands of tortured words on how to nymph fish. There are countless methods and variables that can be determined by anything from water conditions to the type of nymph you are trying to imitate. Needless to say, it’s a little more than we can chew in a newsletter article but consider this an introduction to what I like to call active nymphing.
I differentiate it with the word “active” because mostly, we are taught to fish our nymph(s) on a dead drift. In other words, we try to get our nymph to drift at the same speed as the current, usually under a strike indicator, with no motion or “action” at all. In many situations, this is a highly effective method for catching trout and one that definitely shouldn’t be abandoned. But there are some situations when putting a little movement in the fly, “little” being the key word, may produce a few more fish.
If you’ve spent much time fishing nymphs, this has probably happened to you at some point. You dead-drift your nymph(s) under a strike indicator multiple times through a great run with no results. When you quit paying attention to do something else (probably change flies), the line and nymph(s) straightens downstream, dragging in the current, and a fish hits it.
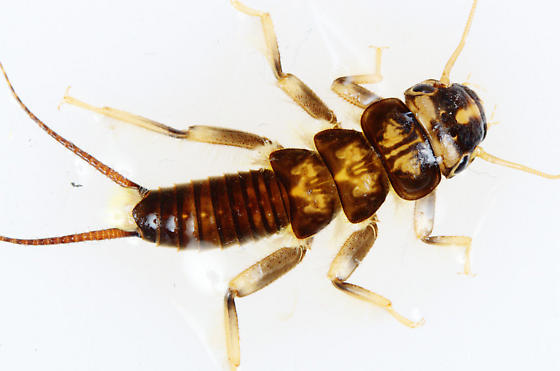
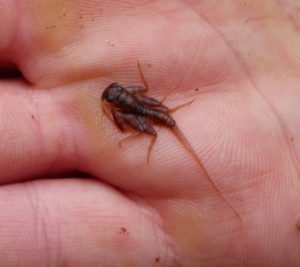
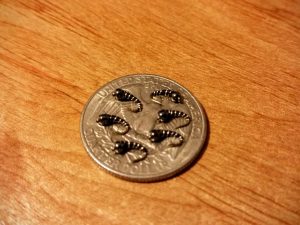
Nymphs will sometimes deliberately “drift” to other parts of the stream in a sort of migration. Other times, nymphs may unintentionally become dislodged from a rock and find themselves drifting down the stream. In either case, they are most often not particularly good swimmers, and are basically at the mercy of the current. Your dead-drift nymphing technique is primarily designed to replicate common scenarios like this. However, some nymphs, like the Isonychias mentioned in the other article in this newsletter, ARE good swimmers, and they don’t drift helplessly with the current. Caddis especially tend to be good swimmers.

And at certain times, such as when it’s time to hatch, even poor swimming nymphs will uses gases to “propel” themselves through the water column to reach the surface. These nymphs are often referred to as emergers, and during these times, that upward, emerging motion of the nymph is often what triggers the fish to strike. So, that fish you caught “by accident” when you let your line get tight and drag behind you may not have been such a fluke. When your drift ended and the line straightened, your nymph “swung” from the stream bottom to the surface, likely resembling an emerging nymph. The trick now, is to replicate that how and when you want to, rather than by accident when you’re not paying attention.
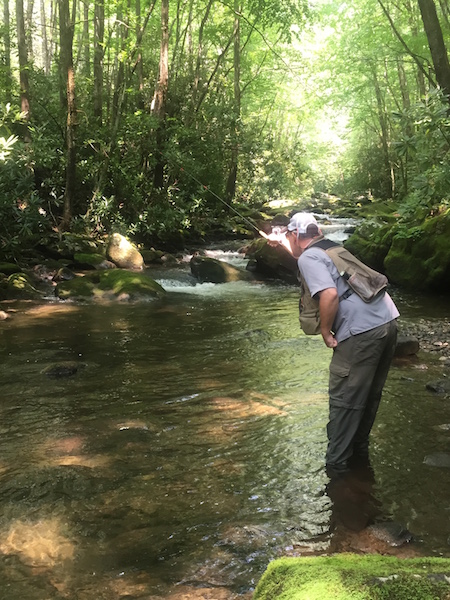
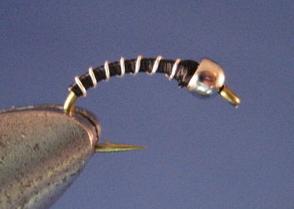
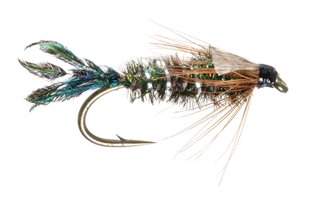
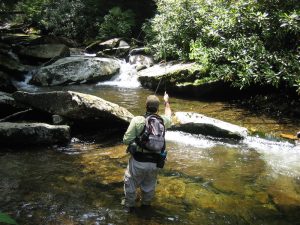
The best way to get started with this technique is by finding a good stretch of pocket water or a nice riffle with some deeper seams and cuts. With faster current, you’ll be able to get closer to the fish and employ a high-sticking method. Use a longer rod, probably 8-9’, and use a leader approximately the same length as the rod. Tie on a generic, all-purpose soft-hackle pattern, like a soft-hackle Pheasant Tail or Hares Ear, and put a small split shot about 8” above it. Forget the strike indicator.
In a smaller pocket, keep just a couple of feet of fly line out past the rod tip, and make a short cast up and across to the top of the pocket. You should be slightly more than a rod length away from your target, preferably with a faster current between you and the target (this will help to conceal you from the fish). Keep your rod tip up and out by extending your arm, and try to maintain an approximately 90-degree angle between the line and rod. By keeping your rod tip up, you can keep most of the leader off the water. If you want the nymph to go a little deeper, drop your rod a little lower. It depends on the depth of the water.
Move the rod with the drift at the pace of the current to maintain the 90-degree angle, and allow the drift to continue in front of and slightly below you. You may get a strike during this portion of the drift. If so, you’ll probably feel it since you have most of the slack out of your line, but keep a close eye on your leader. It will tighten if a fish strikes and be another cue for you to set the hook. When you reach the end of the drift (bottom of the pocket), quit moving the rod with the drift. This will force the fly to swing from the bottom to the surface. If the fish hits during this portion of the drift, you will likely feel a very hard tug.
You can use this same method when fishing a bigger pocket or a longer seam in a riffle. You may just be using slightly more line and have a little longer drift. You may also choose to try one more technique on these longer drifts. Do everything as described above, but when the fly and line are passing in front of you, give your wrist 3 or 4 intermittent, slight upward twitches. This will allow the fly to “jump” or “pulse” in the current. Keep in mind that you want those wrist twitches to be very slight. Quickly and aggressively “pulling” the fly from the bottom to top will not look natural.
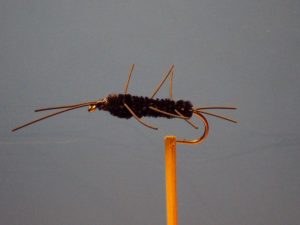
I suggested using a soft-hackle fly for this technique, mainly because the design of the fly lends itself well to the motion-based presentation, but I fish a variety of nymphs in this fashion. Definitely give it a try with your favorite caddis nymphs and emergers. And next time that water is a little high and stained from rain, give this a try with a dark Wooly Bugger or a dark, rubber-legged nymph like a Girdle Bug. You might be surprised at what you find!
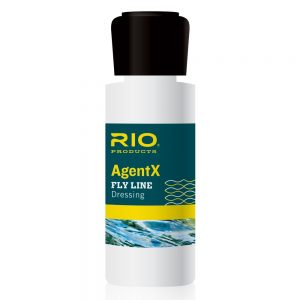
More visible leaders with colored butt and mid sections can make this method of fishing much easier. They help a little with strike detection but mostly, they help you see and track the leader and better gauge the depth of the fly. I make leaders specifically for these short-line techniques and they are available for purchase here.
 When many people think of fishing with flies, images of more familiar insects such as houseflies and mosquitoes are typically conjured. While some of these familiar terrestrial insects like ants, beetles, and hoppers are a source of food for trout, especially in the summer, it is aquatic insects that are most abundant to fish throughout the year and what most artificial flies are intended to resemble.
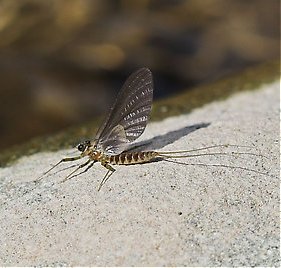
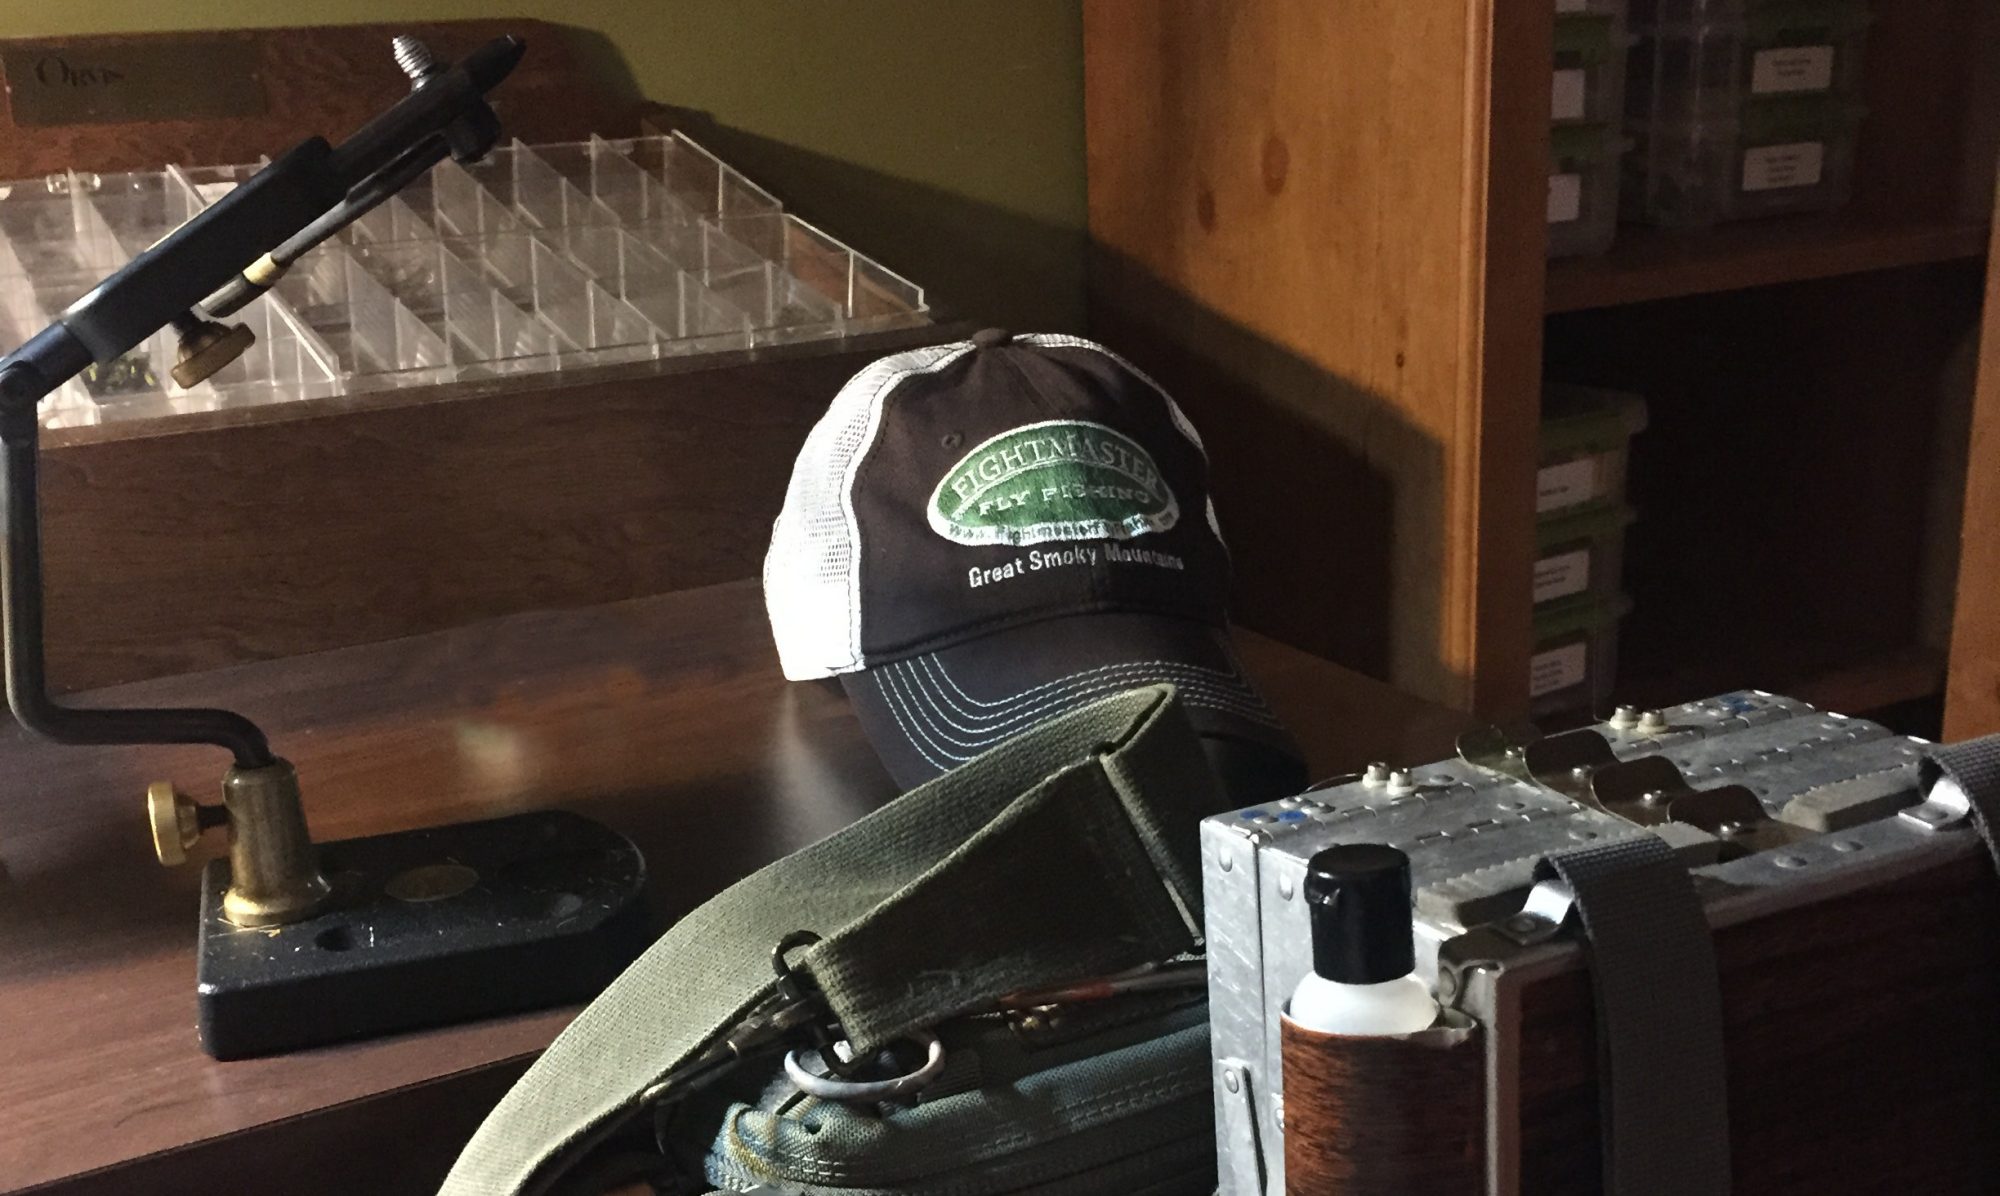
 If you haven’t noticed by now, there are not a lot of “Hot New Flies” that I feature here. Most of the flies I fish with, particularly in the Smokies, are older, traditional patterns, or possibly an old staple that I’ve put a modern spin on. Maybe that makes me a curmudgeon. I don’t know. But until the old staples quit catching fish…
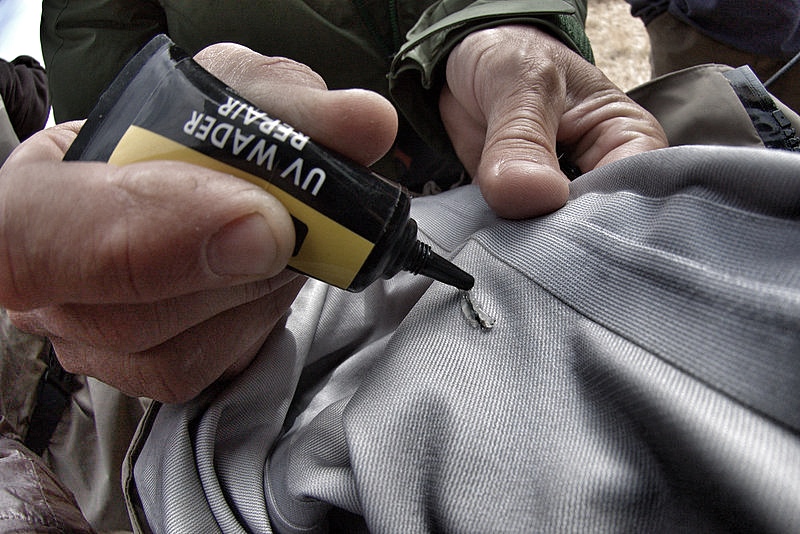 I recently saw a post on Facebook from a gentleman who had broken two fly rods on one trip. Another person commented about “having the record” for taking the most broken rods back to his local fly shop. They proceeded to boastfully go back and forth about this as if it was some sort of badge of honor. Accidents happen and rods do break from time to time, but I had guided one of these gentlemen and it was no secret why he had broken so many.
 When we first met, I cringed as he pulled his rod from the trunk of his car. It was not in a tube and there were a variety of items piled on top of it. I’ve seen a lot of rods break over the years, but I’ve never seen a single one break while it was in the tube. If you knew him, it would come as no surprise that he forgot to bring a reel for the rod, so he ended up using one of mine.
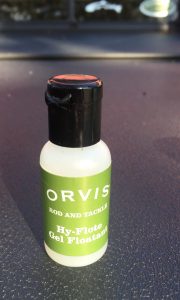
 Treating your breathable waders with a DWR is a great winter project. As a matter of fact, if you have a breathable rain jacket, grab it and treat it at the same time. DWR (Durable Water Repellant) is basically going to allow the water to “bead” and roll off the fabric rather than absorb into it. I’ve had old waders and jackets that I never treated that, even though they were still waterproof, were absorbing so much water that they felt heavy and even clammy. DWR is good stuff. There are a few brands out there and can usually be found at camping/outdoor stores. I’ve personally had good luck with ReviveX Spray-on Repellant.
 Start by washing the waders and/or jacket with a mild detergent as described above. Hang the garment(s) and spray evenly and thoroughly with DWR while the garment is still wet. I usually apply a little heavier around seams and stress areas such as the knees and crotch area on waders. On jackets, I put a little more emphasis on the shoulder area. You can then simply allow it to air dry where it’s hanging or put it in the dryer on low/medium for about an hour.
 The arrival of November usually means cold weather is not too far off, but it doesn’t mean that you have to quit fishing. Certainly the fishing for wild, mountain trout can slow down significantly as water temperatures fall, but tailwater trout and really any stocked trout will continue to feed well, even in the coldest of temperatures. In recent years, winter guide trips to Delayed Harvest streams have become a favorite of many clients, mainly because of the potential for really big trout.
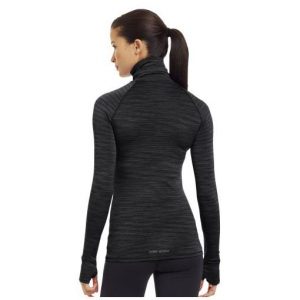
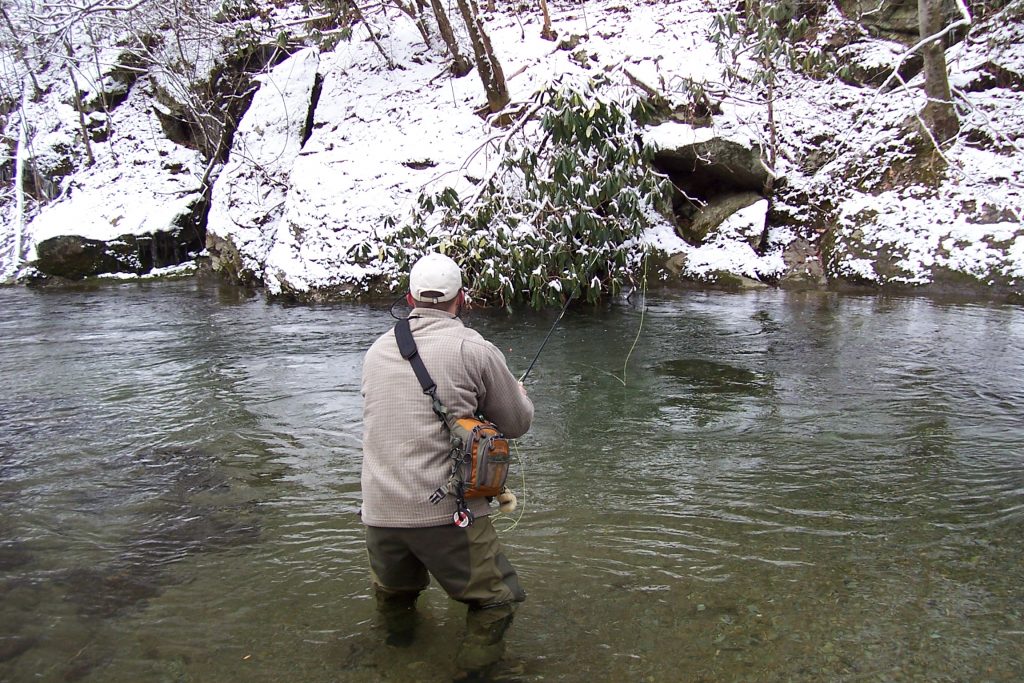 We’ve talked a lot about water temperature in many of these articles and for good reason. Things like approach, presentation, and fly selection can determine whether or not a fish will take your offering, but water temperature can determine whether or not a fish will take any offering! You can read in more detail about water temperature in A Matter of Degrees, but to keep it simple here, wild trout in the Smokies just don’t do a lot of feeding when the water temperature is in the 30’s and low 40’s.
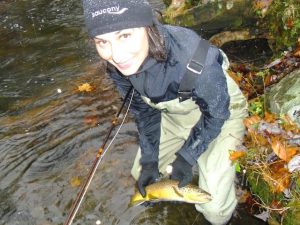 Once you think you’ve located feeding fish, it’s time to think about fly selection. On warmer winter days, you may actually see some insects hatching. If you do, they’re likely to be small and dark: Blue Wing Olive mayflies, small black stoneflies or caddis, dark olive or black midges… Rarely anything bigger than a #18. On rare occasions, you may see fish feeding on the surface during one of these hatches. Small Parachute Adams or Griffith’s Gnats are a pretty good bet in those instances. Mostly though, they’re going to feed more on the nymphs, so black Zebra Midges, small Pheasant Tails, and small black or olive Hare’s Ears will be pretty good bets.
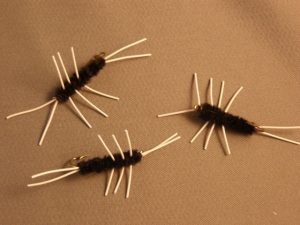
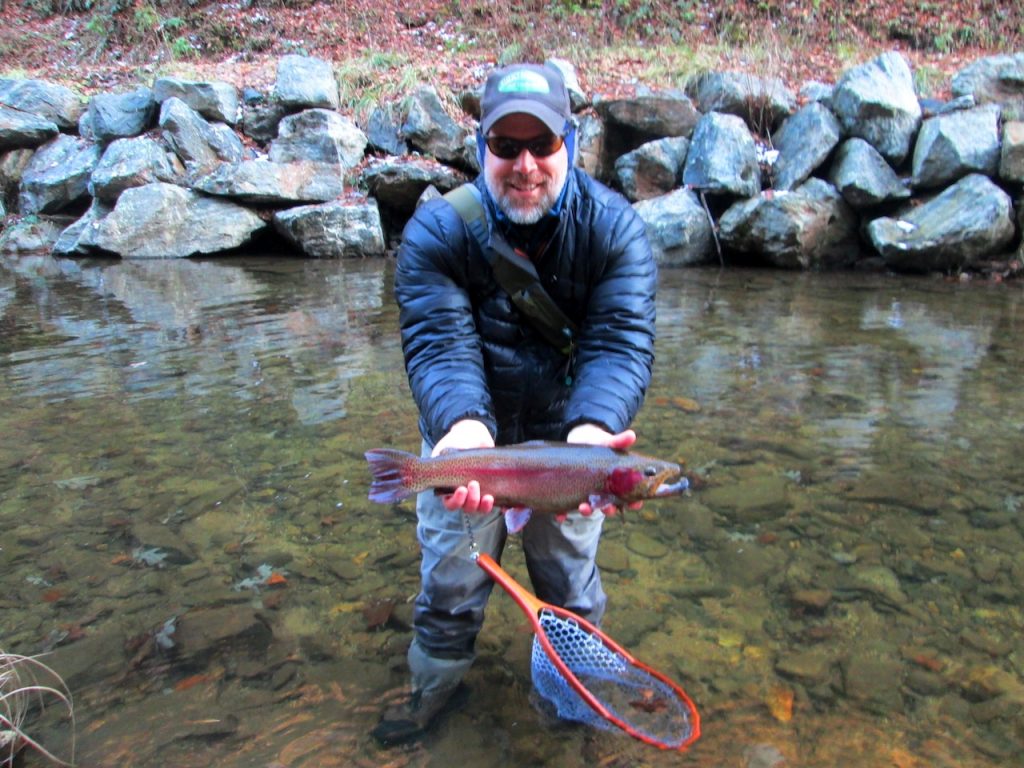
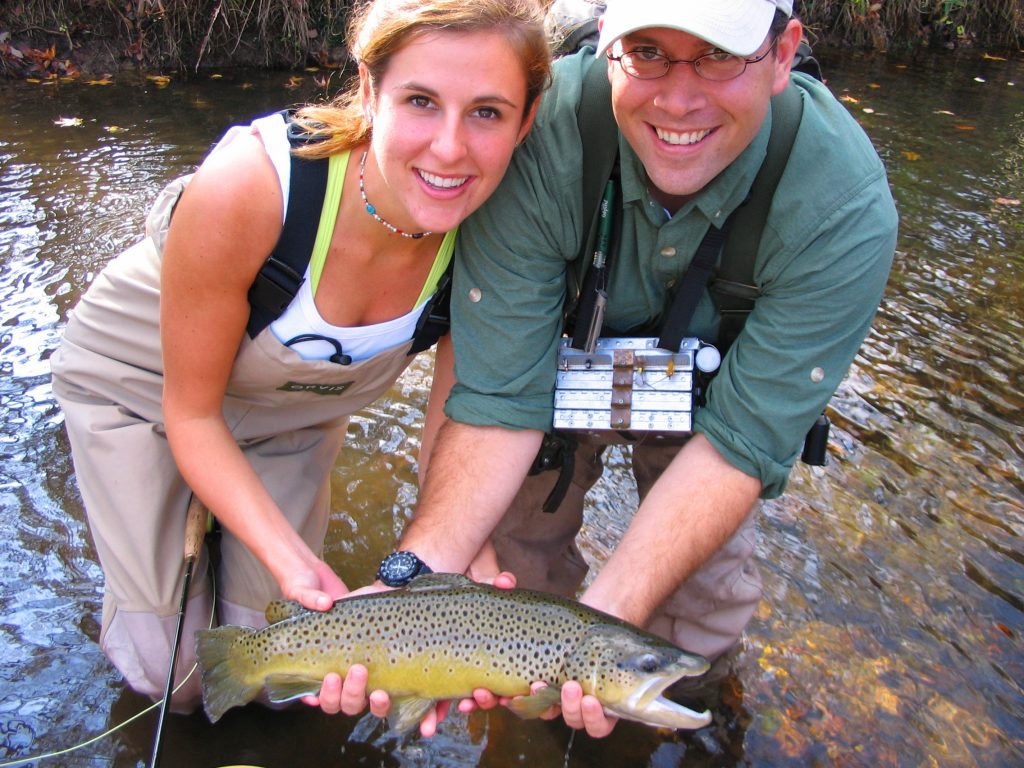 It’s the time of year when certain folks seem to be whispering more at the fly shop. They’re isolated in corners and peeking over their shoulders before saying too much. They’re talking about brown trout. Big ones. Somebody mentioned seeing a decent one around Metcalf Bottoms – about 18-inches. A younger guy innocently asked, “Since when did we start referring to 18-inch browns as ‘decent’?” The older guy replied with a grin, “October.”
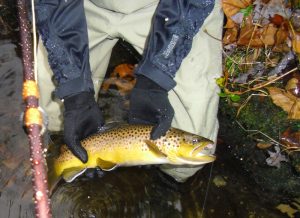 Fish that size don’t get caught often. Brown trout only live in a handful of rivers in the Smokies to begin with. They’re extremely cagey and for much of the year, they do most of their feeding at night – it’s illegal to fish the park at night. So, outside of the occasional big brown caught at dusk, or dawn, or after a good rain, we don’t get a lot of good shots at these guys. Until late fall.
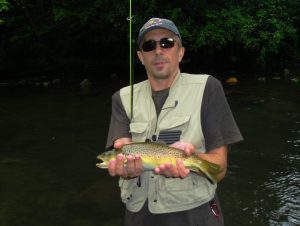 Most people aren’t willing to put in the time it takes to catch one of these fish. Unless you’re just going to depend on luck, you have to trade fishing time for looking time. You may not spot one at the first place, or second or third… And once you do spot one, you’re not done looking. You have to watch him for a while to figure out his pattern: how he’s feeding, where he’s feeding, when he’s feeding, IF he’s feeding. You then may have to spend a pain-staking amount of time sneaking into a position where you can cast to him without spooking him.
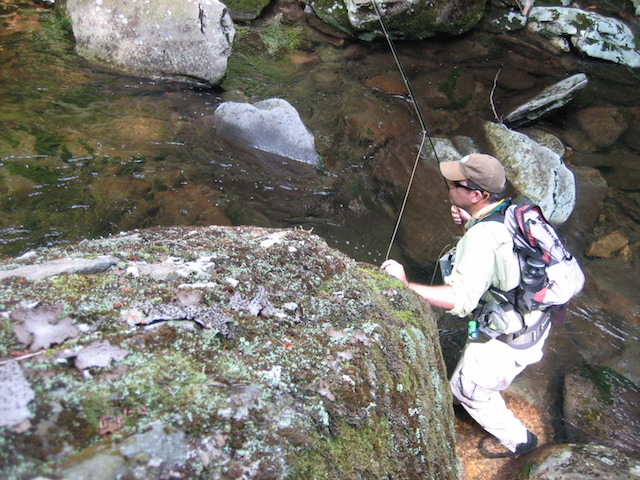
 The best prevention for all of these, of course, is good old-fashion bug spray. Bug sprays with higher concentrations of Deet seem to be most effective, but be careful when using them. Deet has the ability to melt plastic, and getting a healthy dose of Deet heavy bug spray on your fingers can wreck a fly line. Just avoid spraying it on your palms and finger tips. If you’re one who likes to spray your hands and rub it on your face, just spray the back of your hands and rub it in that way.
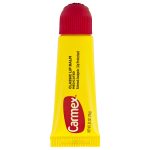 the woods, there’s a chance of picking up a tick. Deet based bug sprays will help with that, too. I still try to check myself periodically, particularly at the end of the day. If you do find one on you, there’s an easy way to remove it. Squeeze a dab of medicated lip balm (the gel type that comes in the squeeze tube) onto your finger and smear it on the tick. It will immediately release itself from your skin. Cool, huh?!? I always keep a tube of Carmex in my first aid kit for this reason.